Generally speaking, motherboard manufacturers try to release BIOS/UEFIs that are stable and have all the features you’ll ever need for the motherboard on day one however, this rarely happens as bugs get discovered or new features need to be added to support newer hardware released after the motherboard.
As a result, motherboard BIOSes need to be flashed, or updated, once in a while for improved functionality and while the process was quite difficult and even dangerous in the past, motherboard makers have made the process a lot easier with plenty of checks to ensure that the risk of something going wrong is minimal.
Today we’ll be showing you how to update the UEFI BIOS on an ASUS motherboard. The process should be similar across all ASUS motherboards and generally speaking, ASRock motherboards as well although each motherboard will likely have its own slightly different interface.
Disclaimer
Before we begin, a quick disclaimer as a bad update on the UEFI BIOS of a motherboard does come with the risk of bricking the motherboard if the process is done incorrectly. CPCR does not take any responsibility for bricked motherboards as a result of this.
Update ASUS BIOS Using E-Z Flash Guide
Step 1
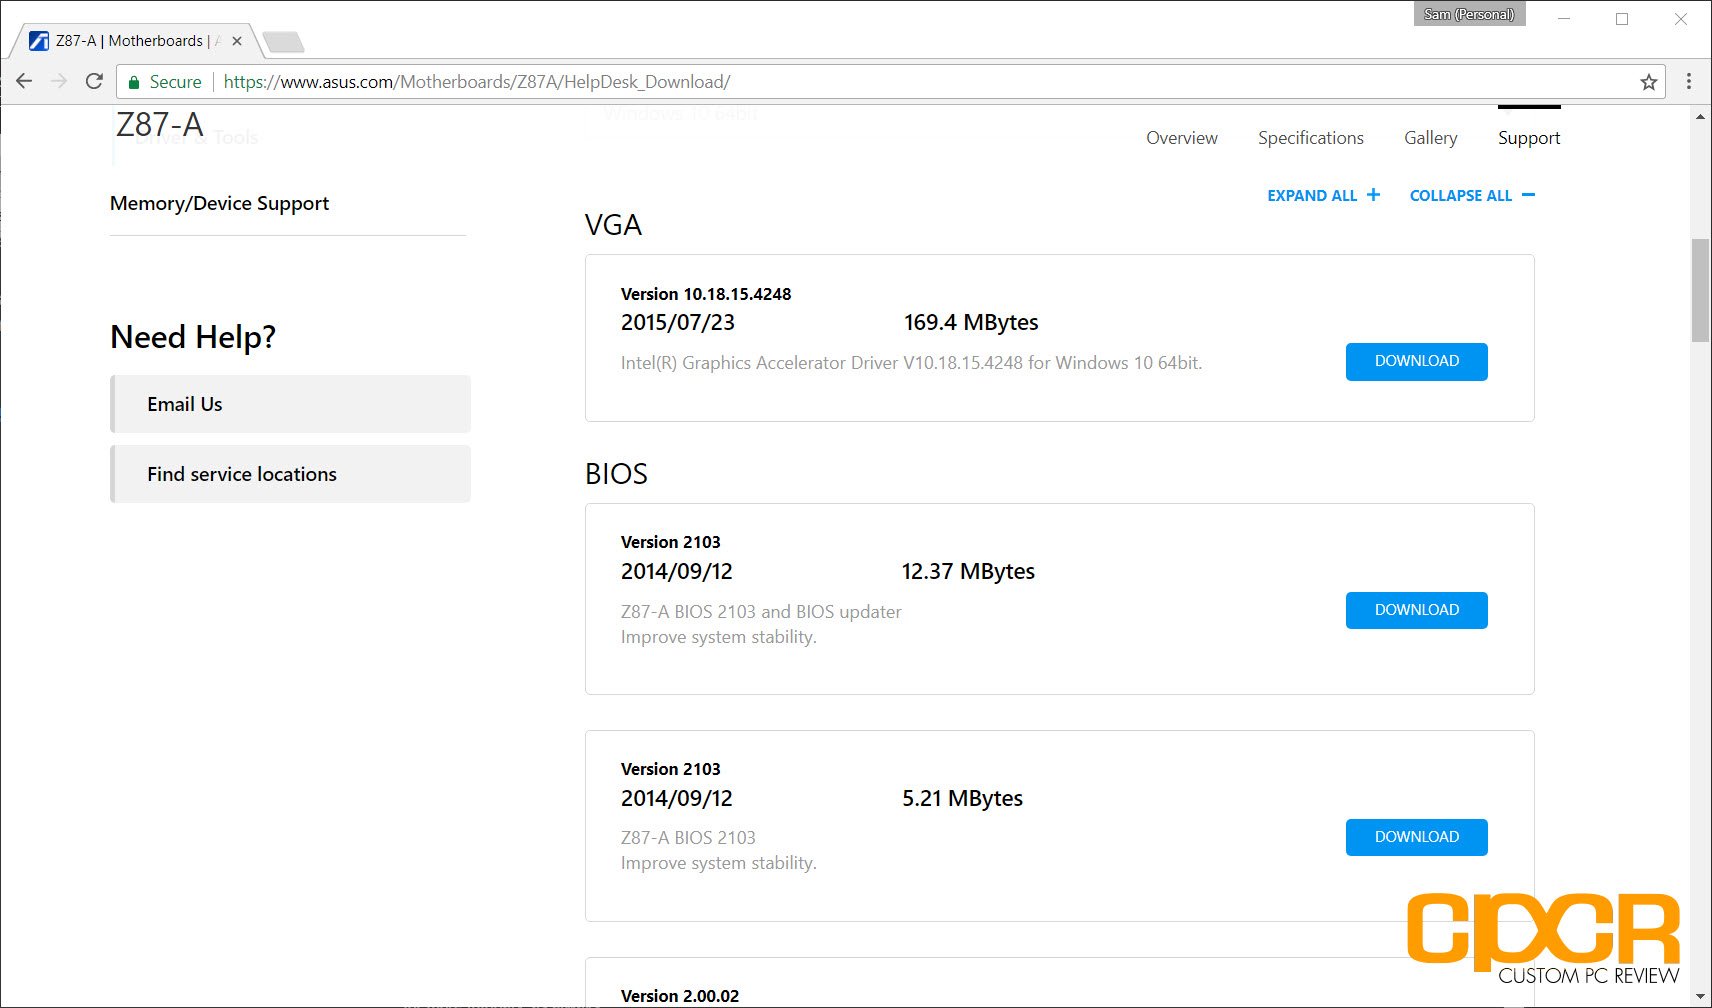
Download the appropriate BIOS for your ASUS motherboard. If you don’t know the model of your ASUS motherboard, check out our guide on how to find your motherboard model and UEFI BIOS version. If your UEFI BIOS is already the latest, you do not need to re-update it.
Once you know your motherboard model, ASUS BIOSes can be found at ASUS’s support website.
Step 2
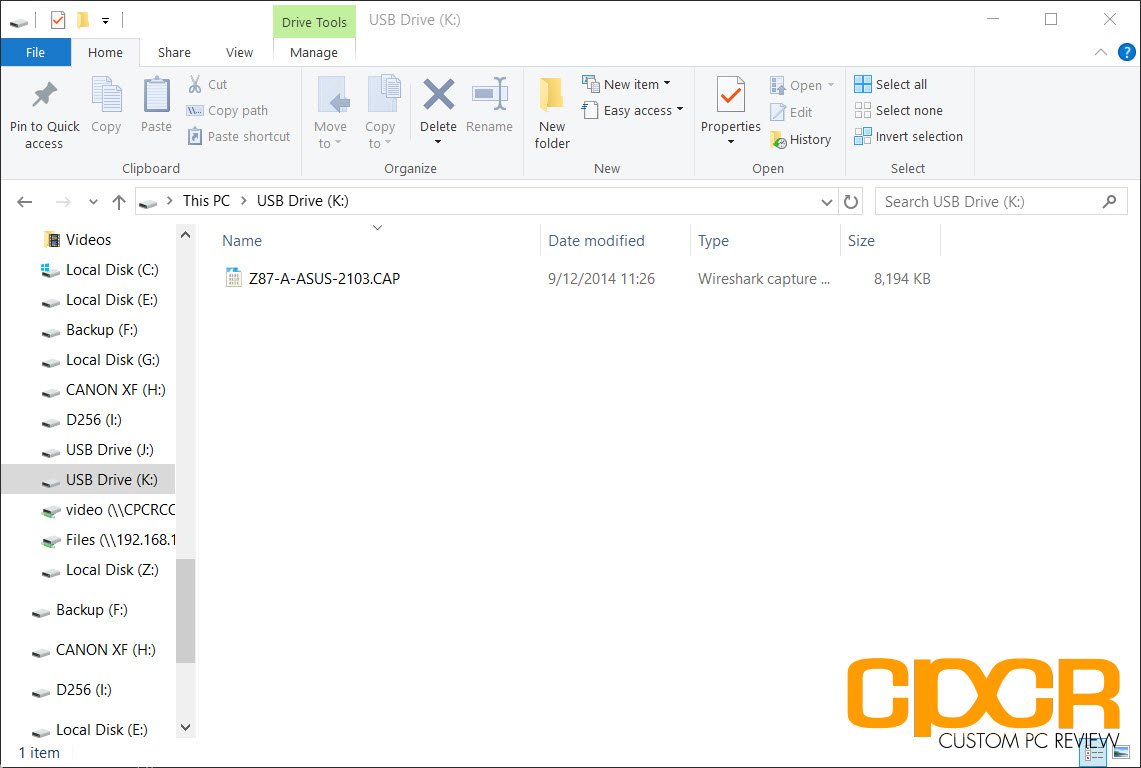
Once you’ve downloaded the BIOS update, go ahead and extract the files to the root directory of a USB drive. This is where you’ll update the BIOS from.
Step 3
Restart your PC and boot into BIOS/UEFI. This can be accomplished by quickly pressing the F2 or Delete key as soon as the system turns on. Generally, you’ll see a splash screen with the ASUS logo and a message that says something to the effect of to get into BIOS or UEFI press [key].
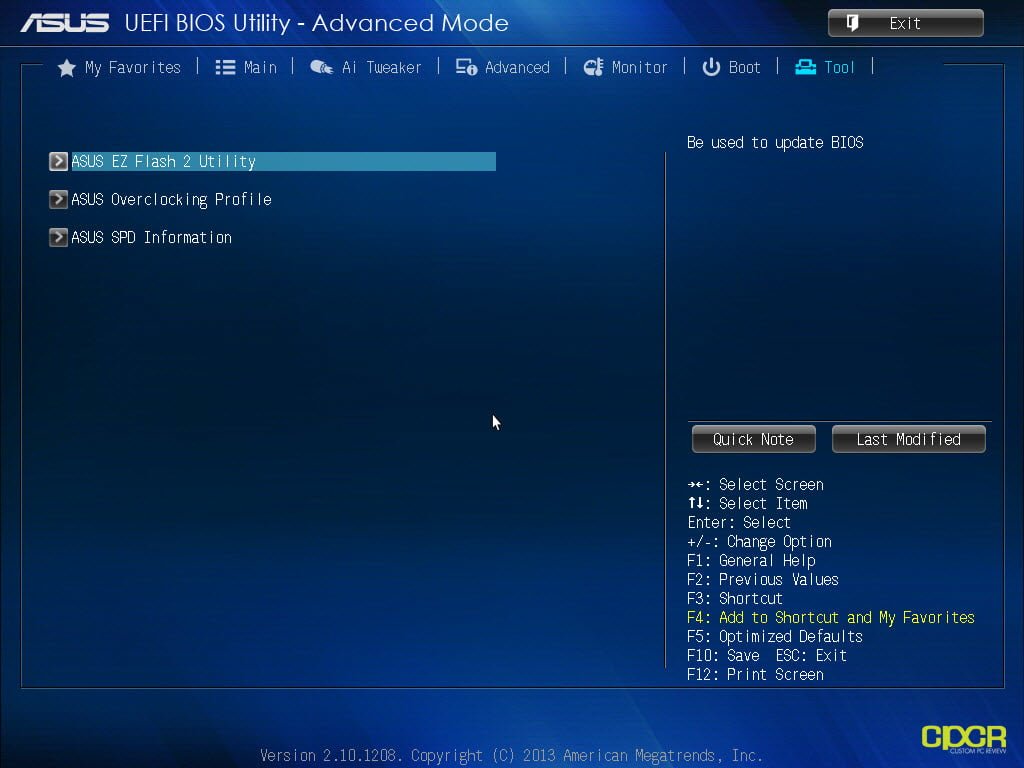
Once inside, the UEFI BIOS should look like this or a variation of this.
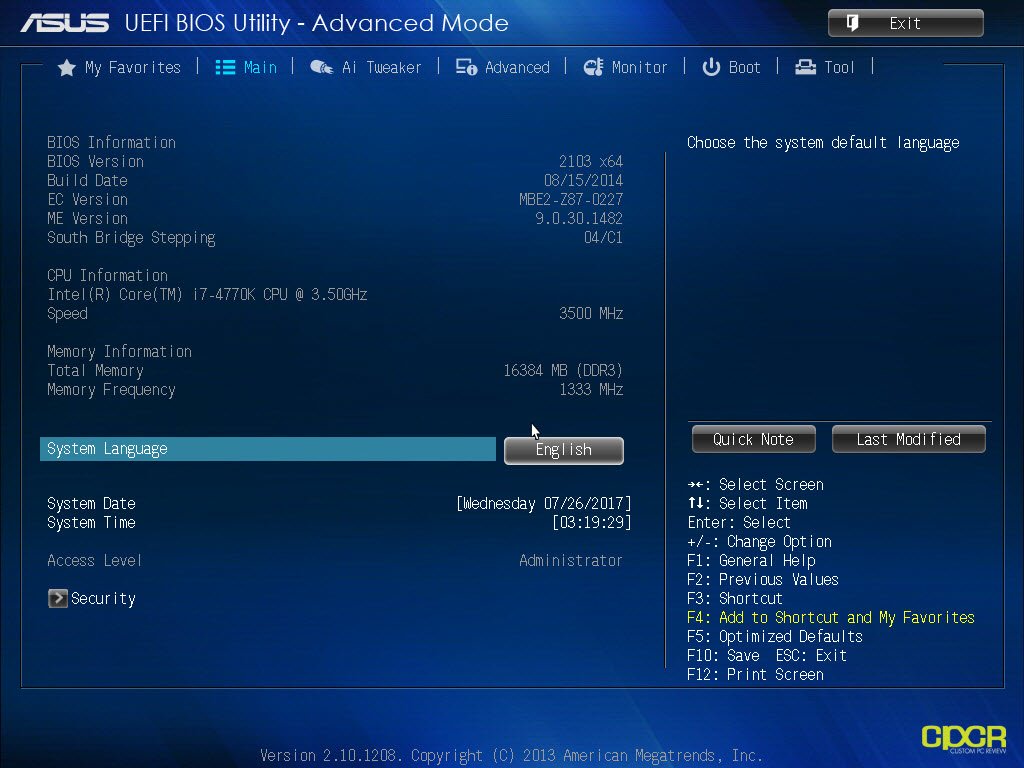
Step 4
Go to the Tool tab at the top and click on it. Then, you should see ASUS EZ Flash 2 Utility or something similar. Click on it.
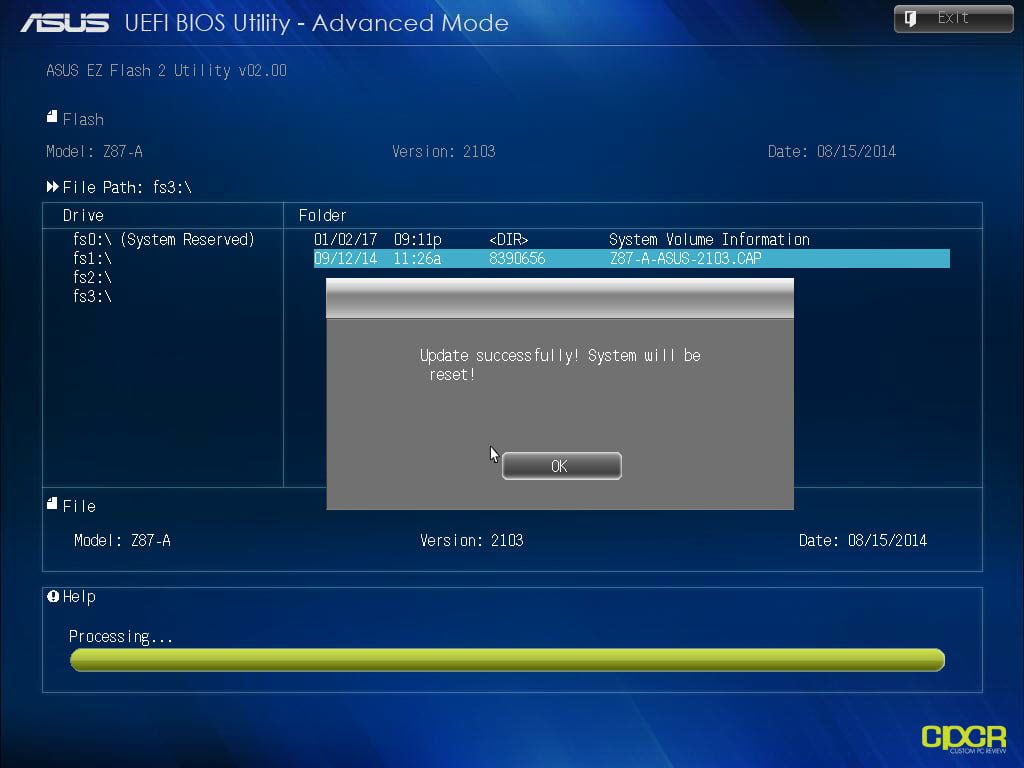
Step 5
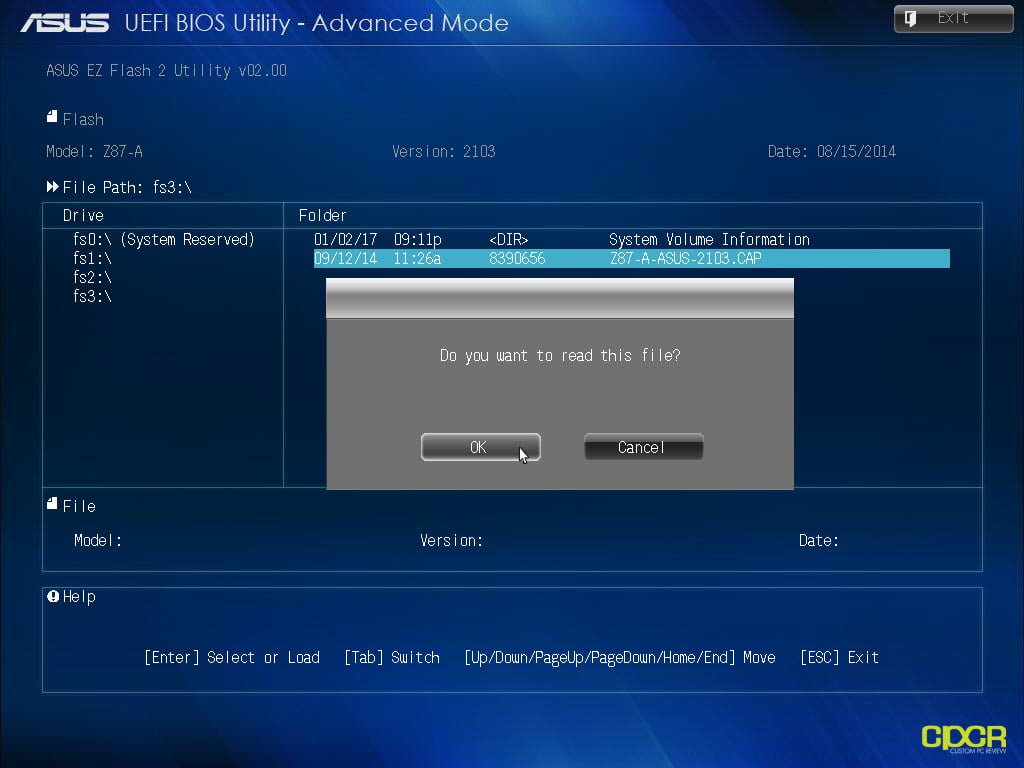
Find your BIOS file. In this case, it’s Z87-A-ASUS-2103.CAP. Go ahead and click on it and a dialog window will appear asking if you want to “read this file” or something to the same effect. Click OK to begin the update.
DO NOT INTERRUPT THE PROCESS! This means do not disconnect the power and do not unplug the flash drive or you may destroy your motherboard.
Step 6
Once EZ Flash is done updating, it will prompt you to restart the system. Click OK. That’s it! You’ve now successfully updated your ASUS motherboard.
Didn’t work? Having Trouble?
If this process didn’t work, you may have a motherboard that’s either too old or too new. Or, you may have the wrong BIOS file. However, that’s OK because we can help you figure it out. Just head over to the community forums and one of the community members would be more than happy to assist you. Good luck!


