
Windows 10’s search function is one of the most powerful tools in the operating system. Users can easily search for files, programs, and settings straight from the desktop. To speed up searches, Windows has an Index file that keeps track of what’s in the system and where. Unfortunately, not all the things you need are automatically indexed and sometimes residual program entries will still appear after they’ve been uninstalled.
To fix this issue and to include additional locations, you’ll need to rebuild the index file. Here’s how.
Rebuild the Search Index File
Step 1
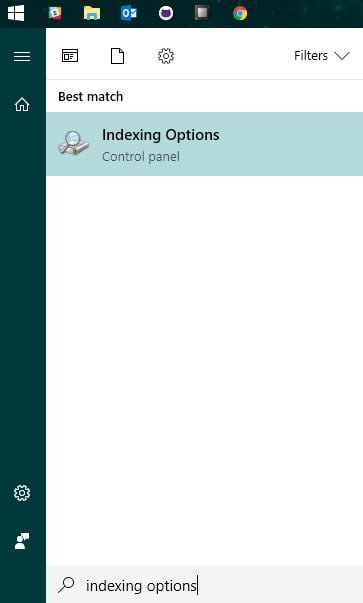
Hit the Windows Key and immediately type “Indexing Options”. Click on the first option that appears.
Step 2
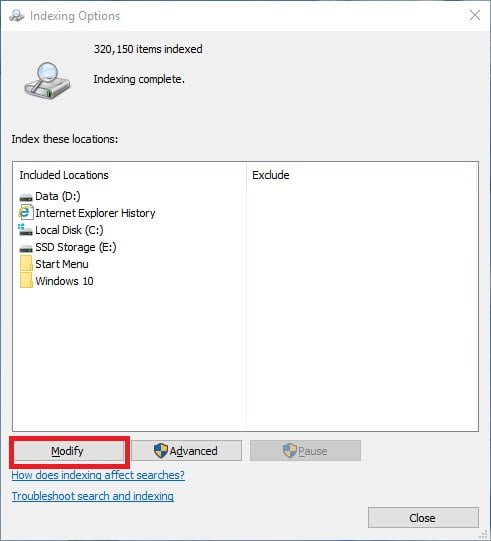
Once you’re in this menu, we’ll have to select what locations we want to index. Click on “Modify”.
Step 3
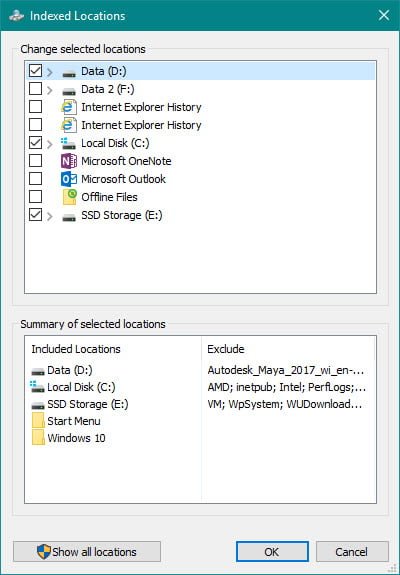
Check off all the locations you want to index. You can also expand each drive and select specific locations.
Step 4
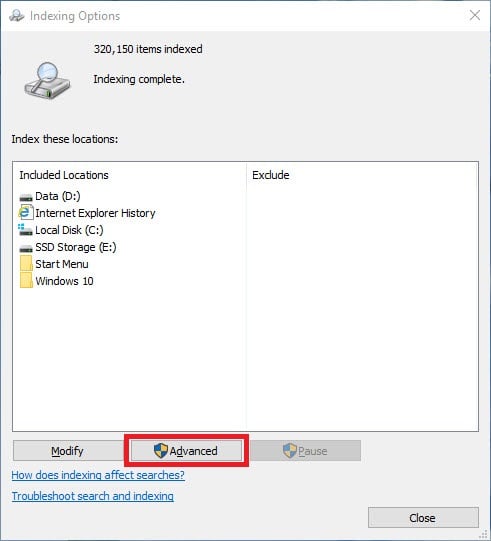
Once that’s done, hit “OK” , which will take you back to the main menu. Now click on “Advanced”.
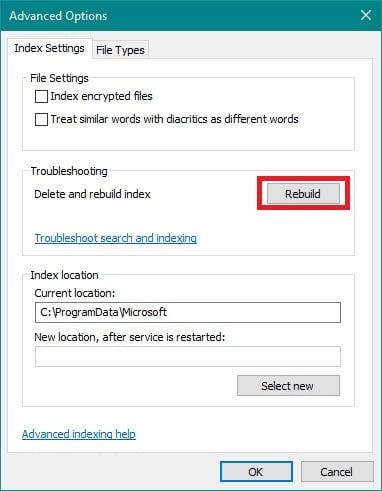
Step 5
On the menu that appears, click “Rebuild” under troubleshooting.
Step 6
Be patient! Depending on the amount of data that need to be indexed, it may take a long while before it’s complete. Once the rebuilding process completes, you’ll be able to search for all the files through the search bar or the start menu.


