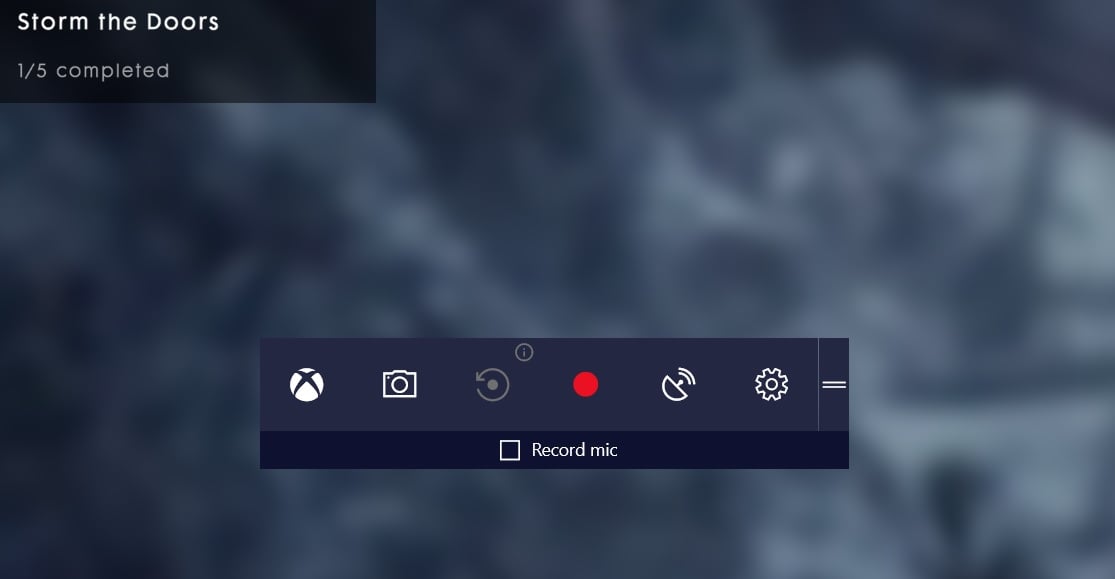
One of the newer gamer-centric features of Windows 10 is the Game Bar and Game DVR, which is a feature designed to allow gamers to record gameplay in the background so if something amazing happens, you have proof to show all your friends. Since you don’t really know when you’ll pull off that amazing quadruple melee kill, Game DVR can automatically record all gaming video in the background so when that amazing moment happens, you can simply save it to show all your friends.
Of course, if you already have another service such as Nvidia ShadowPlay or have a dedicated capture card recording footage for you, you may not need to have Game Bar or Game DVR. Similarly because Game DVR and Game Bar is designed to run in the background as gaming is occurring, those with slower systems may want to turn off Game Bar and Game DVR anyway in order to run at maximum performance.
Here’s how to disable Game Bar and Game DVR.
Disabling Game DVR (Automatic Recording) on Windows 10 (Creators Update)
Step 1
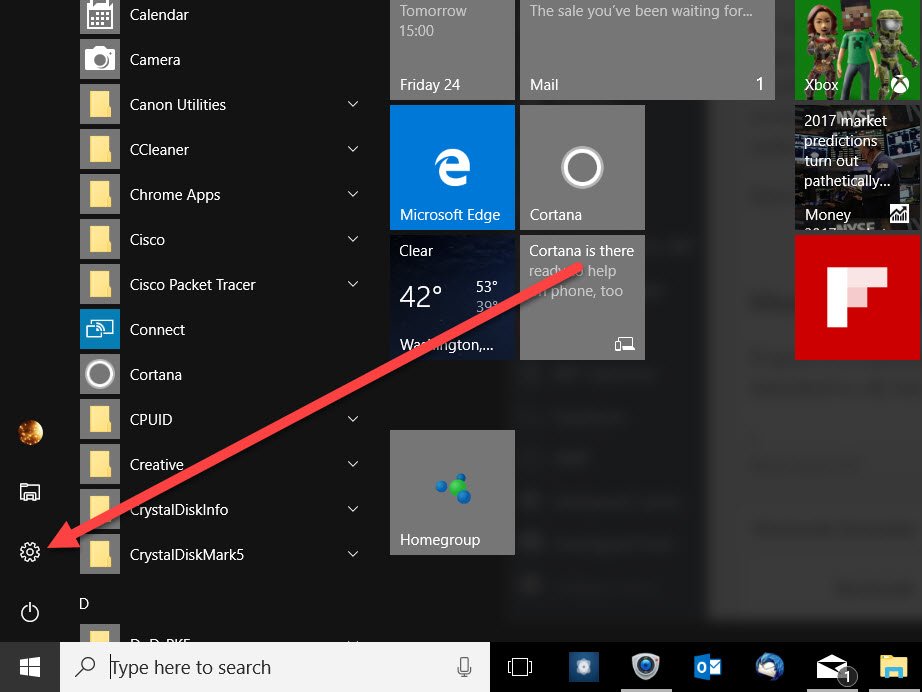
Open the Settings menu by clicking the Start button then clicking on the cog icon.
Step 2
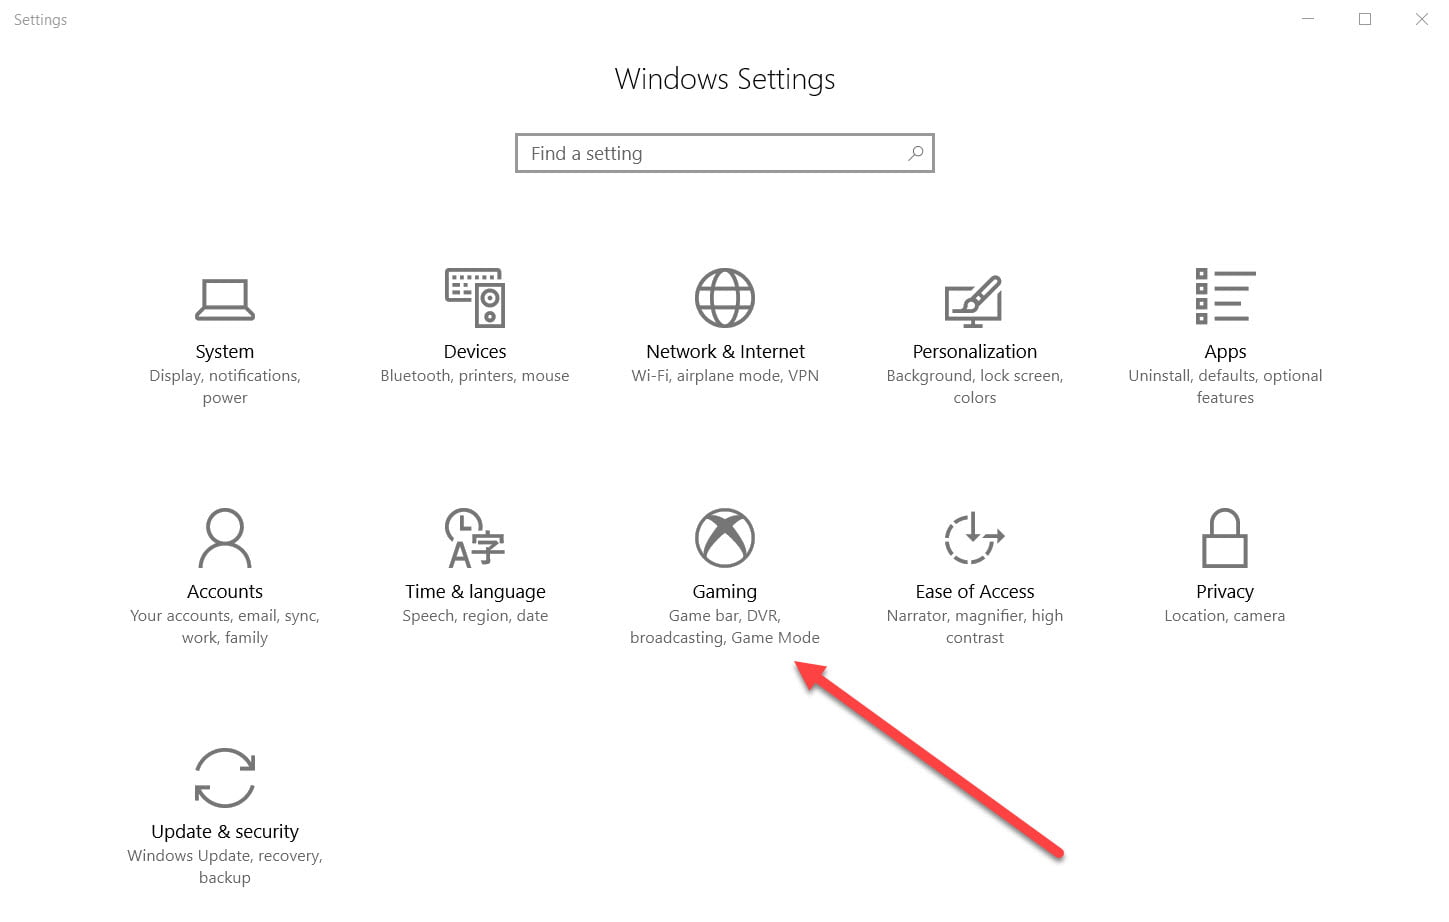
Click on the Gaming menu item.
Step 3
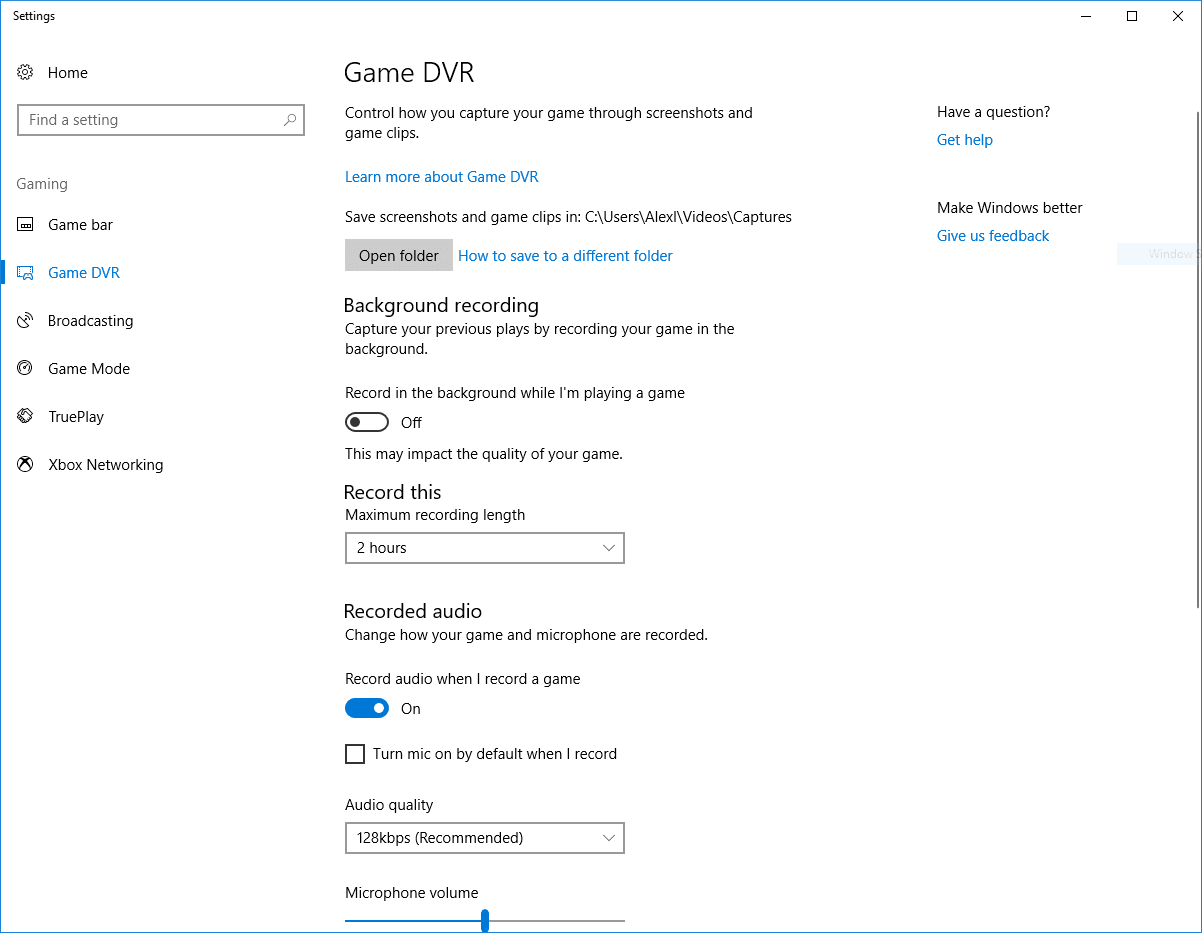
Click on the Game DVR menu item on the left. Ensure the “Record in the background while I’m playing a game” is set to Off. This will disable automatic background recording of games while playing in-game. If you’d like to re-enable the Game DVR, simply set the setting to On and it’ll be enabled.
You can still record manually with the game bar by hitting Windows key + G while gaming.
How to Disable the Xbox Game Bar in Windows 10 (Creators Update)
Step 1
Open the Settings menu by clicking the Start button then clicking on the cog icon.
Step 2
Click on the Gaming menu item.
Step 3
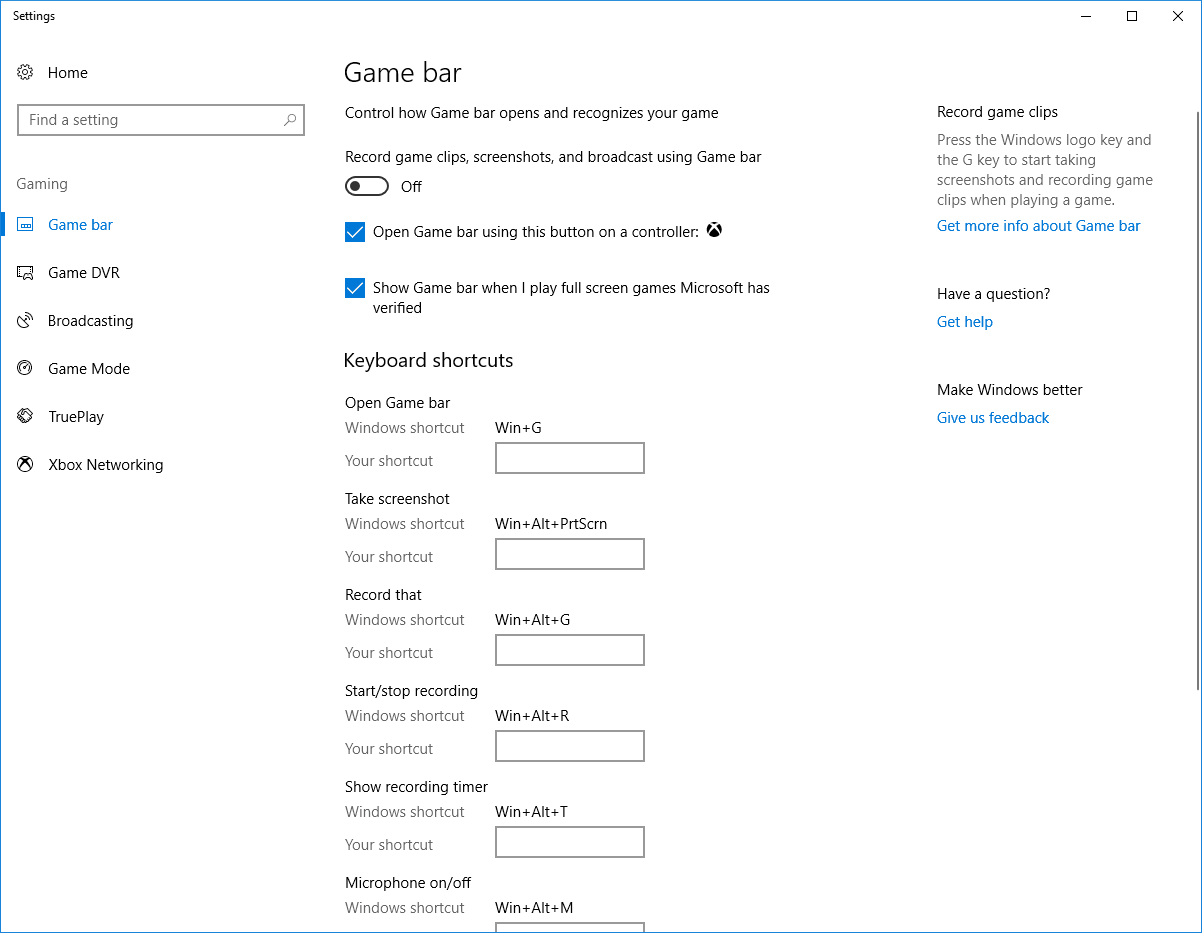
Click on the Game bar menu item on the right if it’s not selected already. Set the “Record gameclips, screenshots, and broadcast using game bar” to Off and you’re done! If you’d like to re-enable the Game Bar, simply set the setting to On and it’ll be enabled.
