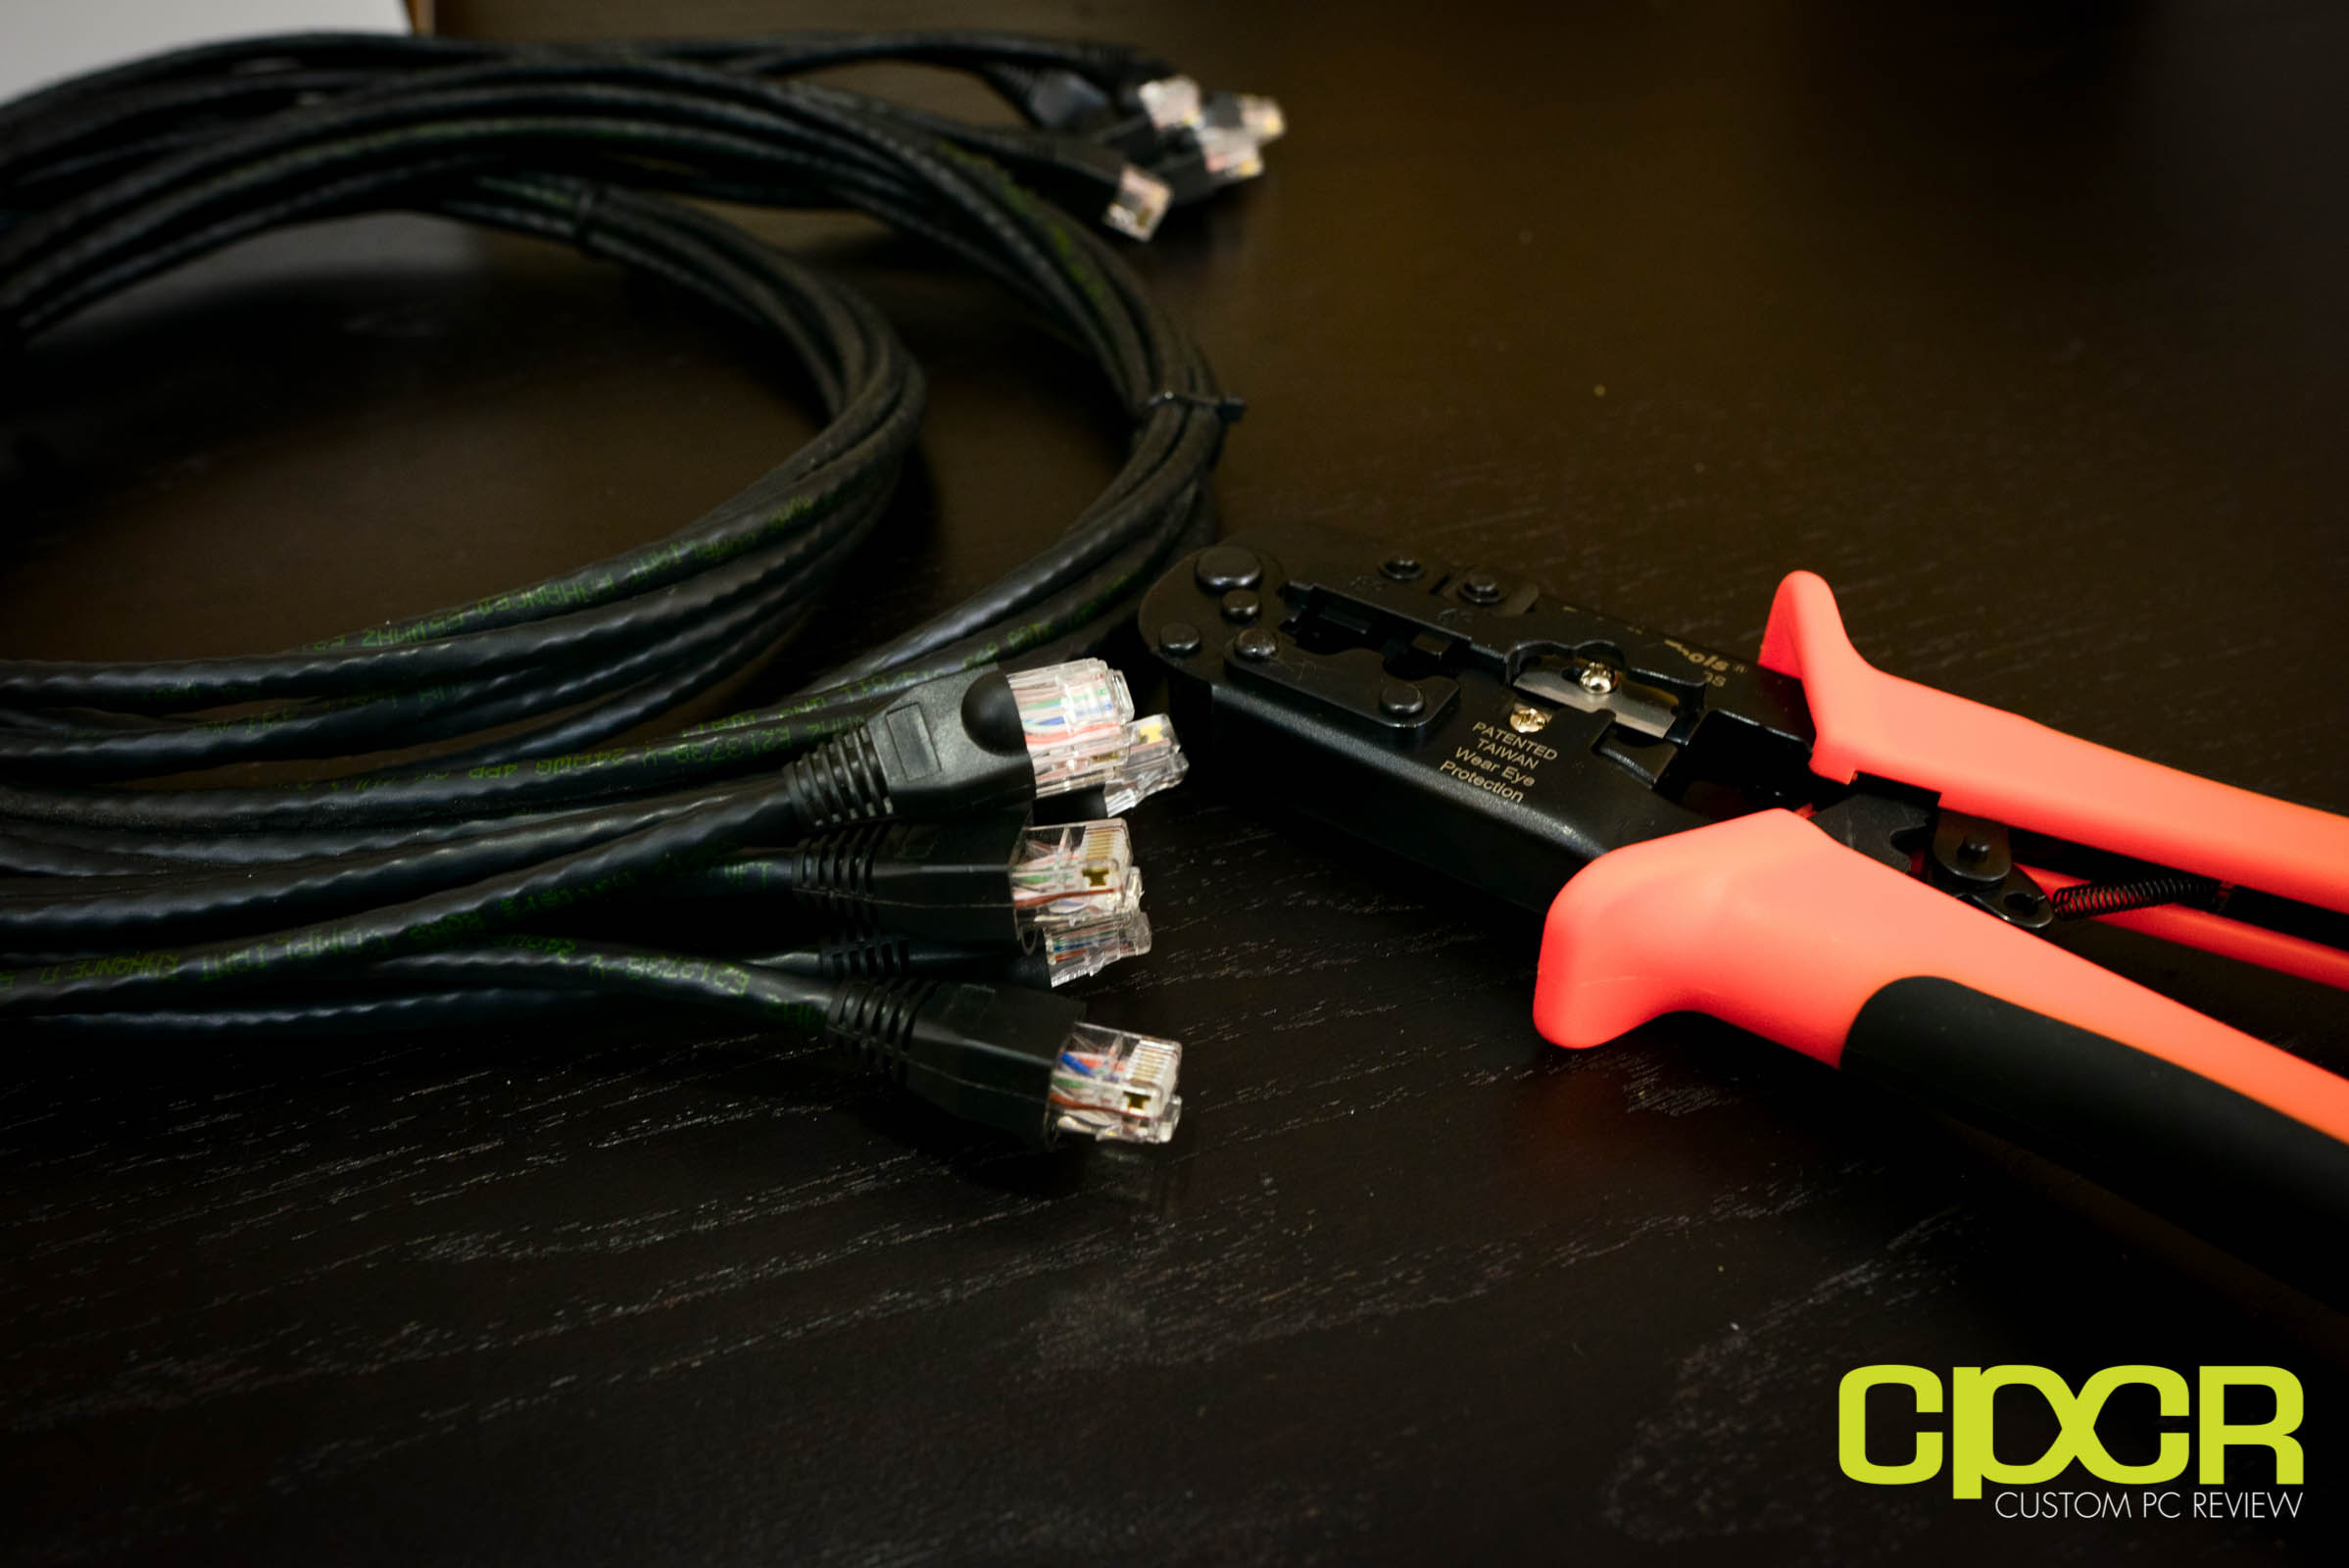
Why Should You Make Ethernet Cables?
As most of you have probably purchased an Ethernet cable at one point or another, you’ll know that one of the most annoying things about buying an Ethernet cable is that they’re always sold in fixed lengths. As such, you always end up over-ordering and leaving tons of unsightly Ethernet cable leftover, or you end up under-ordering and you end up ordering another longer cable to ensure that the cables are long enough.
To solve this problem, the easiest way is to simply build your own network cables. This way the cables are customized to the size needed. As an additional bonus, those who plan to make a lot of Ethernet cables will actually find that it’s much more cost effective to buy in bulk and make your own cables rather than purchasing pre-made cables.
What You Need

1. Ethernet Cable – For this tutorial, we’ll be using Cable Matters In-Wall Rated Cat6 however, Cat5e and Cat6 can be used for Gigabit speeds as well. This tutorial also works for older network cables and newer ones, but currently the best value to performance is Cat6. As there are several types of Cat6, ensure that the Cat6 you’re planning to purchase is using 100% copper and not some lesser mixture such as copper clad aluminum.
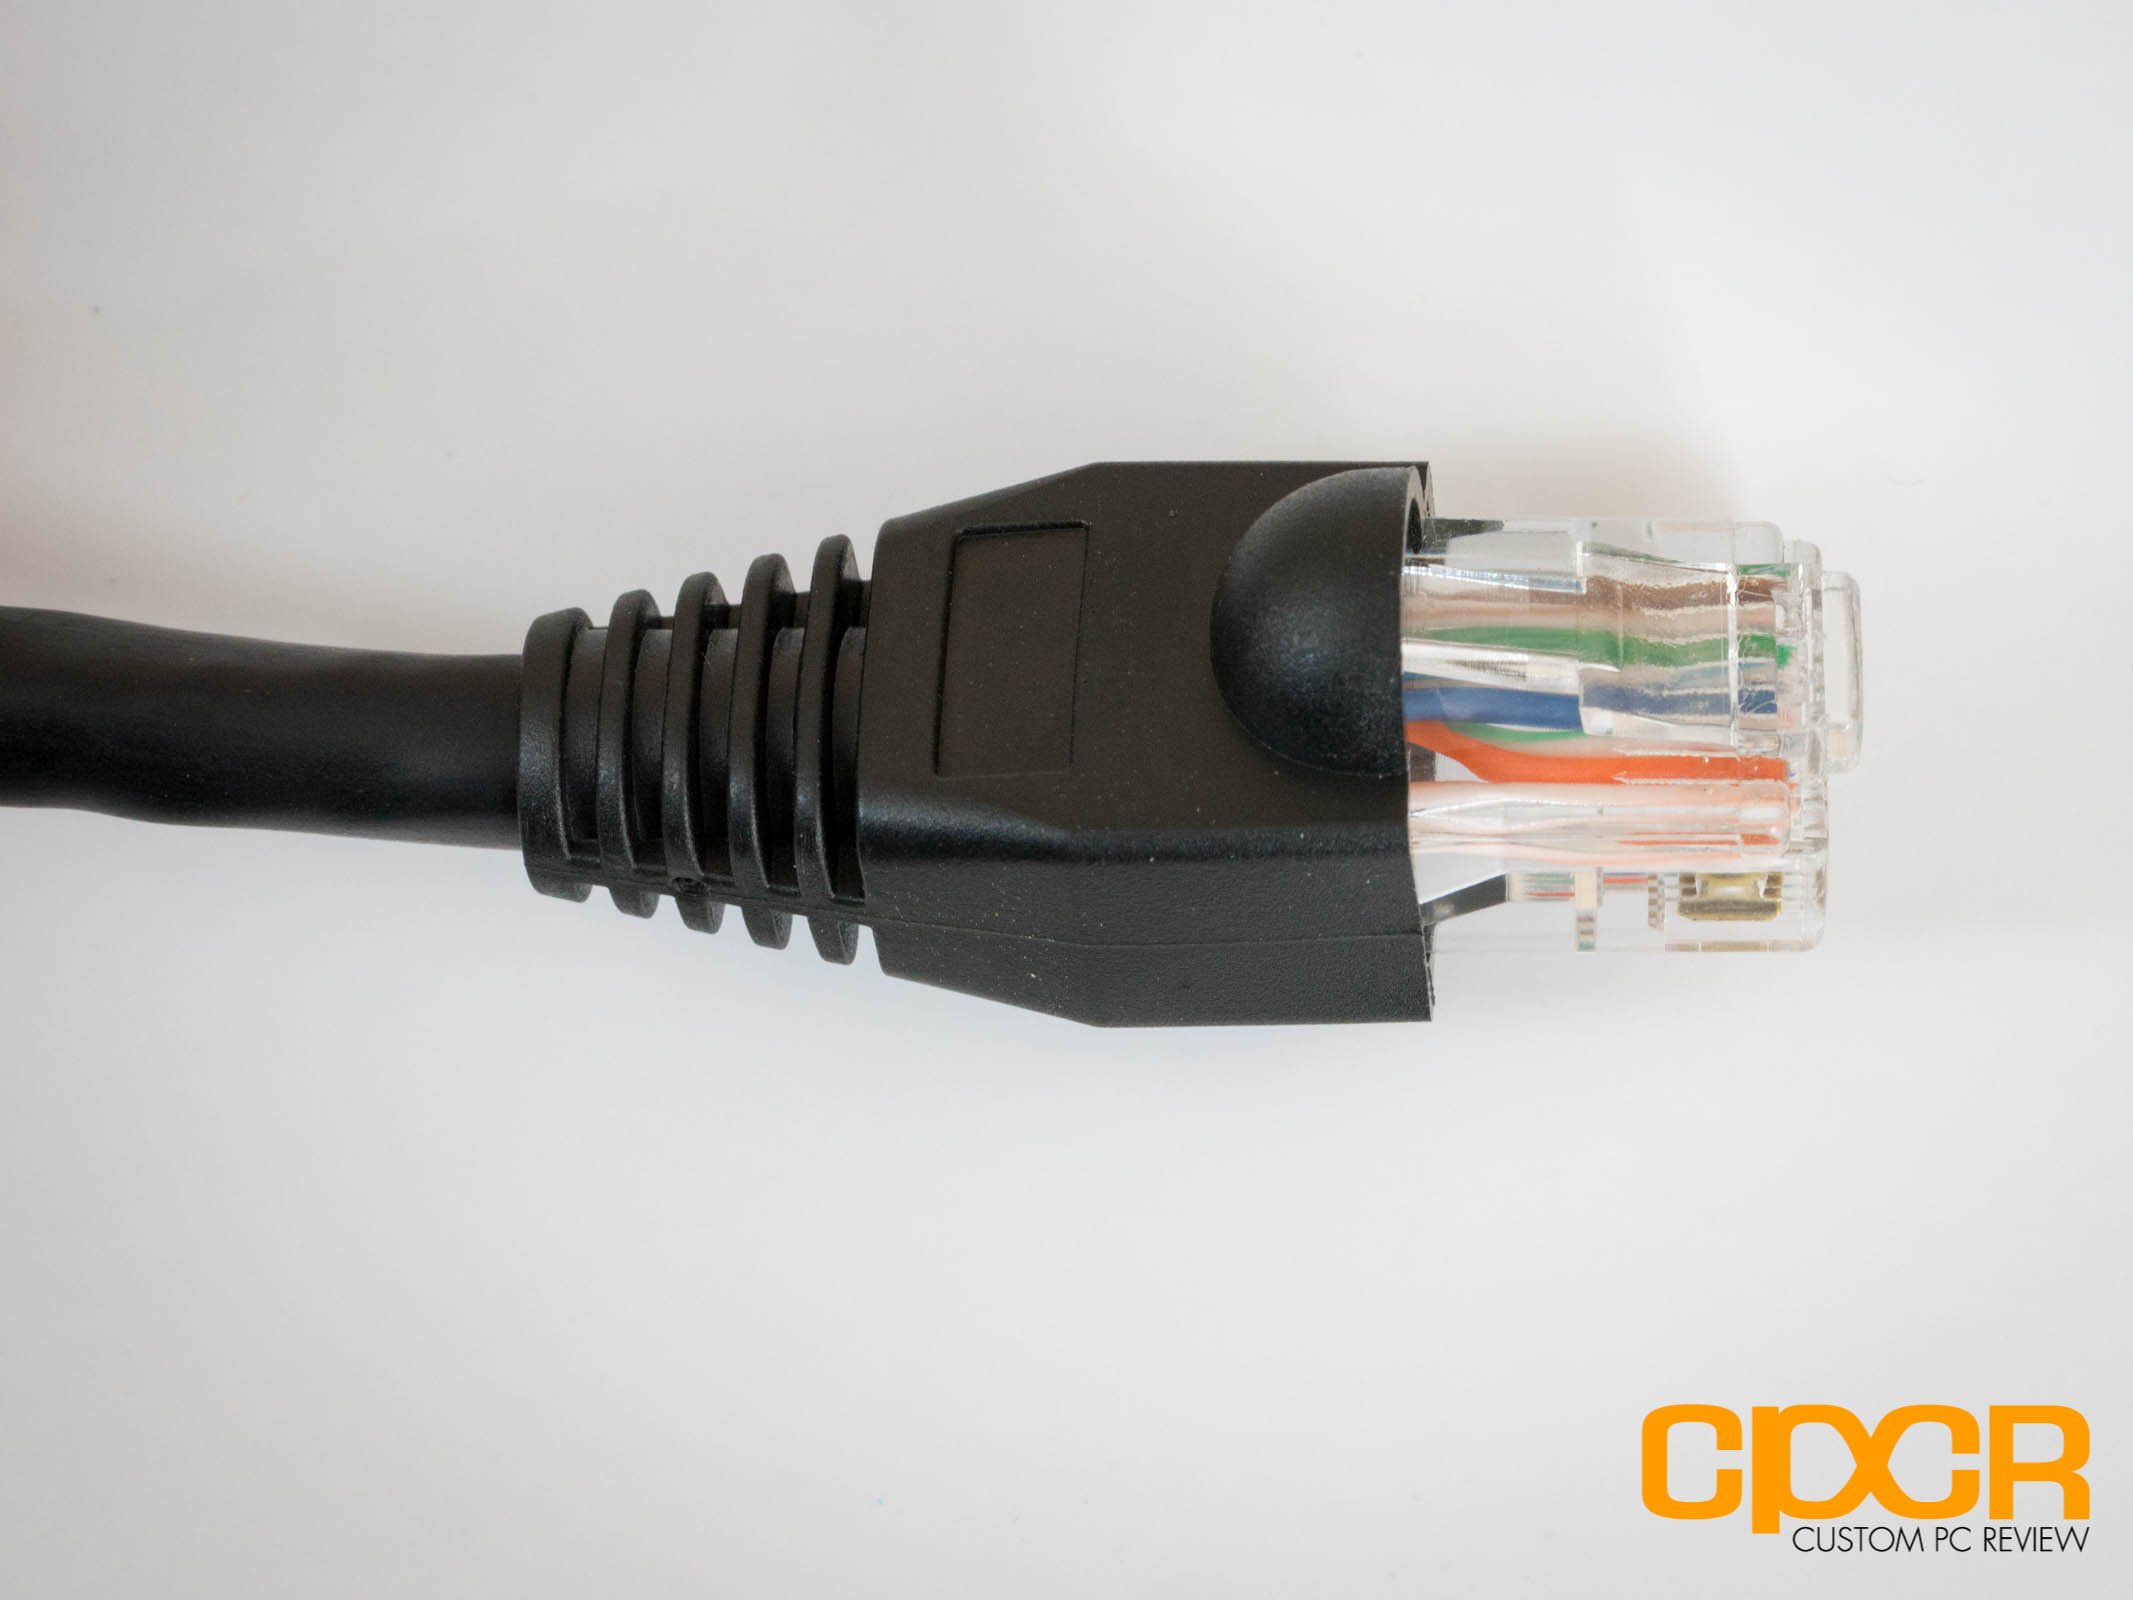
2. RJ-45 Ethernet Plug – These are important as these connect the cables to the network interface cards. For this tutorial, we’ll be using C&E Cat 6, Cat5e Crimp Connectors.
3. Strain Relief Boots (Optional) – These are important for preventing the Ethernet plugs from snagging. They also help improve the look of the cables. We’ll be using the CableWholesale Black Strain Relief Boots.
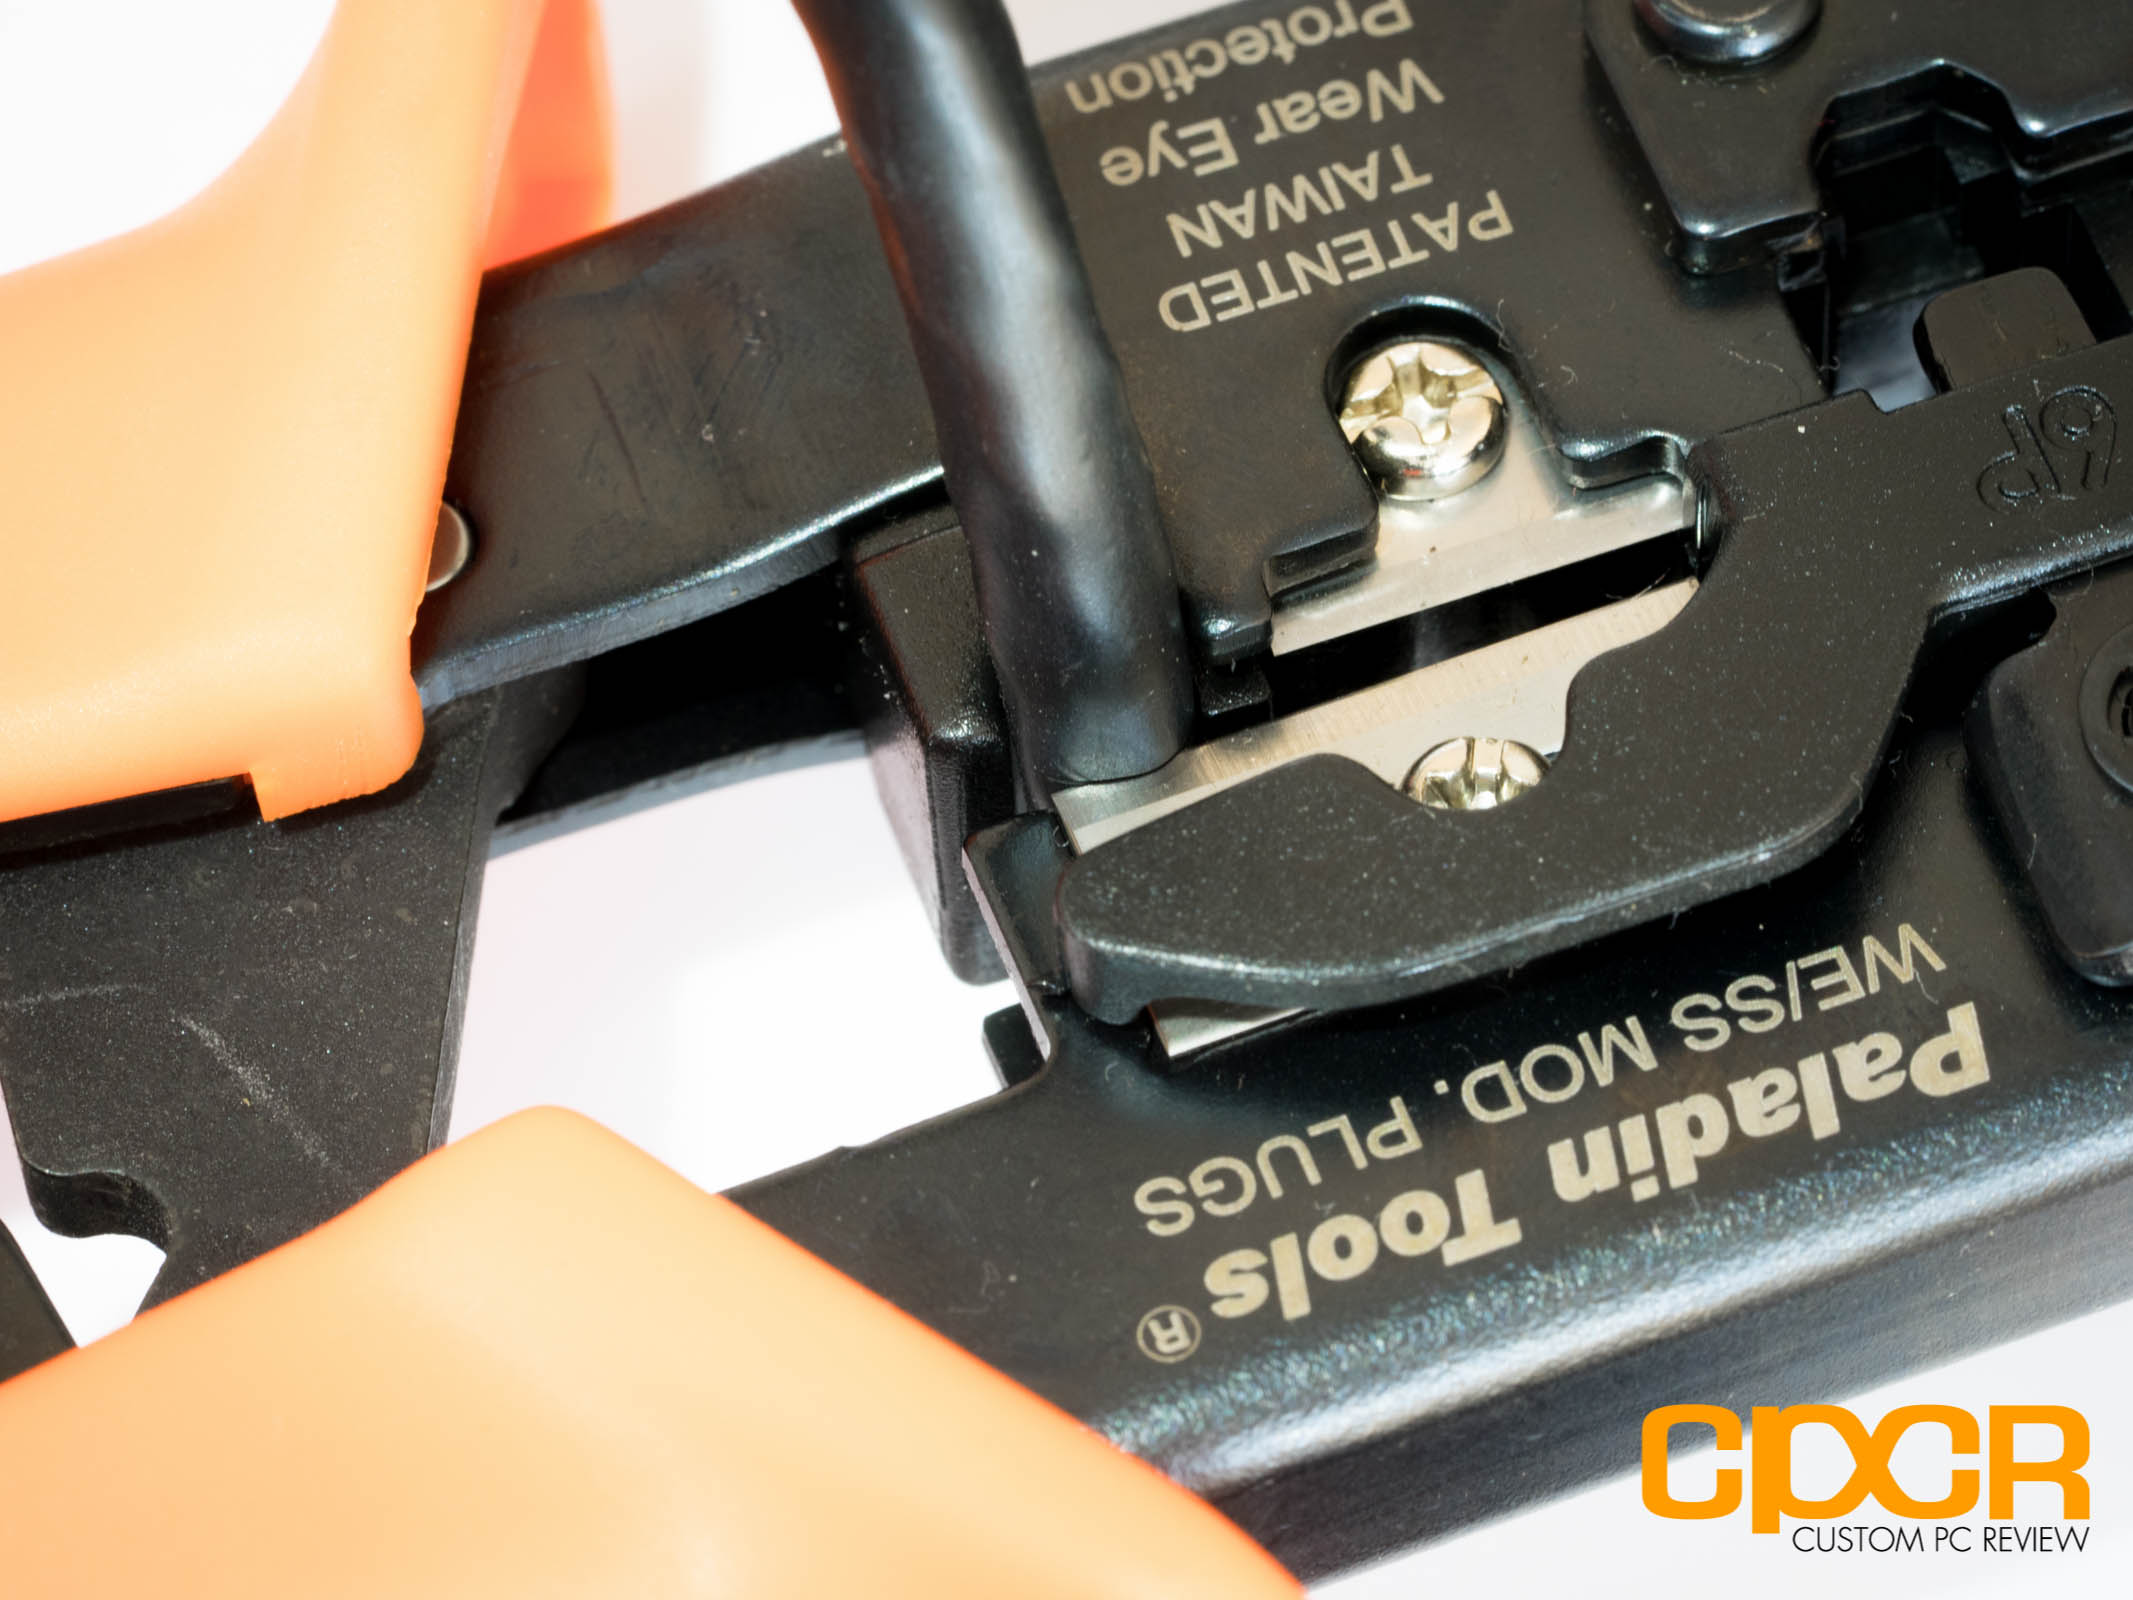
4. Racheting Crimp Tool – For this tutorial, we’ll be using the Paladin Tools network crimping tool. The tool has racheting functionality which will provide consistent crimping.
5. Network Cable Tester (Optional) – This will provide cable testing without a PC. We’ll be using the HDE Network Cable Tester.
6. Scissors – Needed for cutting wires. Optional if you have a different cutting tool.
Wiring Diagram

There are two main wire arrangements for Ethernet cables.
Standard Patch Cable – Standard patch cables are the most common cables we deal with on a daily basis. These are cables that primarily connect computers to switches, routers, and modems. While technically any combination of wiring can be used for a standard patch cable (as long as both ends of the cable is the same), the generally accepted method of wiring Ethernet cables is by using the TIA/EIA 568-B wiring standard for both ends of the cable.
Crossover Cable – Crossover cables aren’t too common for most networks, but these special cables allow direct connections between one computer and another. In order to make these cables, the TIA/EIA 568-B wiring standard is used for one of the ends and the the TIA/EIA 568-A wiring standard is used for the other.
Instructions on Making Ethernet Cables
For our instructional guide today, we’ll be making a standard cable, which is also known as a straight through cable. For the straight through cable, we will wire both sides of the Ethernet cable using the TIA/EIA 568-B standard wiring order. For those who need a crossover cable, wire one side of the Ethernet cable using the TIA/EIA 568-A standard and the other side of the Ethernet cable using the TIA/EIA 568-B standard.
Step 1
Use one of the RJ-45 Ehternet Plugs to figure out how much of the cable sheath needs to be removed. This is typically about 1-inch.
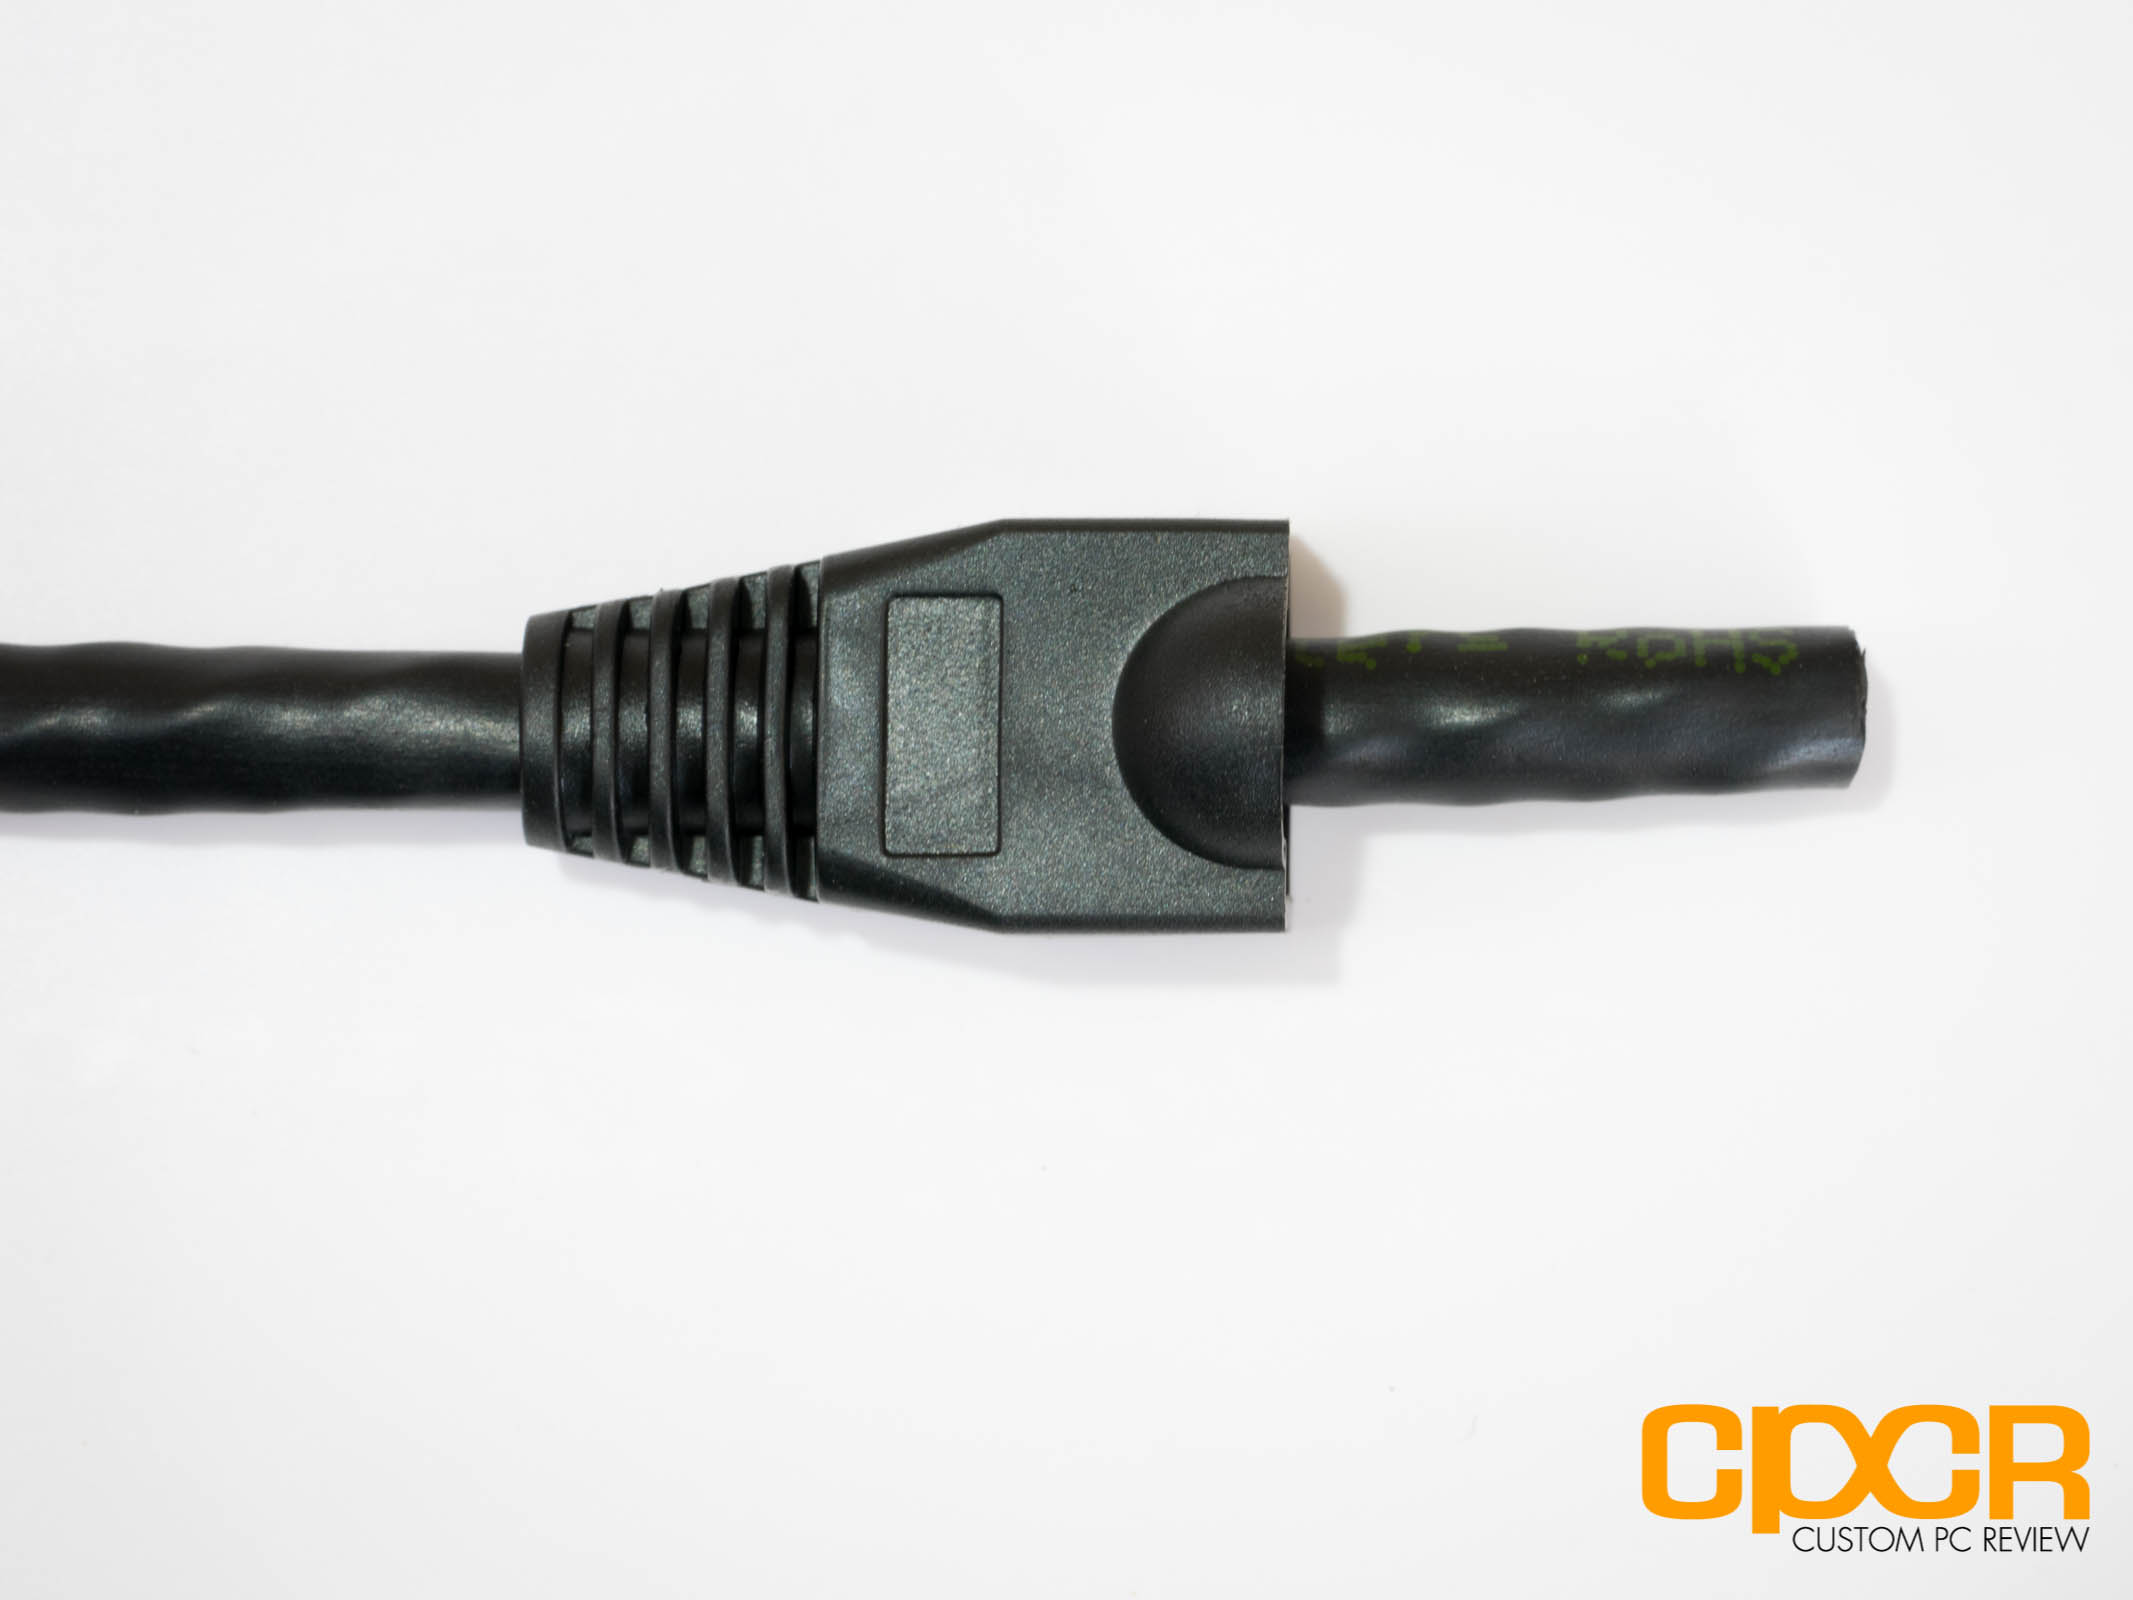
If you opted for strain relief boots, go ahead and install them now.
Step 2
Strip the sheath in order to reveal the wires inside. The crimp tool should include a tool to strip the sheath, but if this isn’t available, a knife or scissor can be used as well.
Step 3
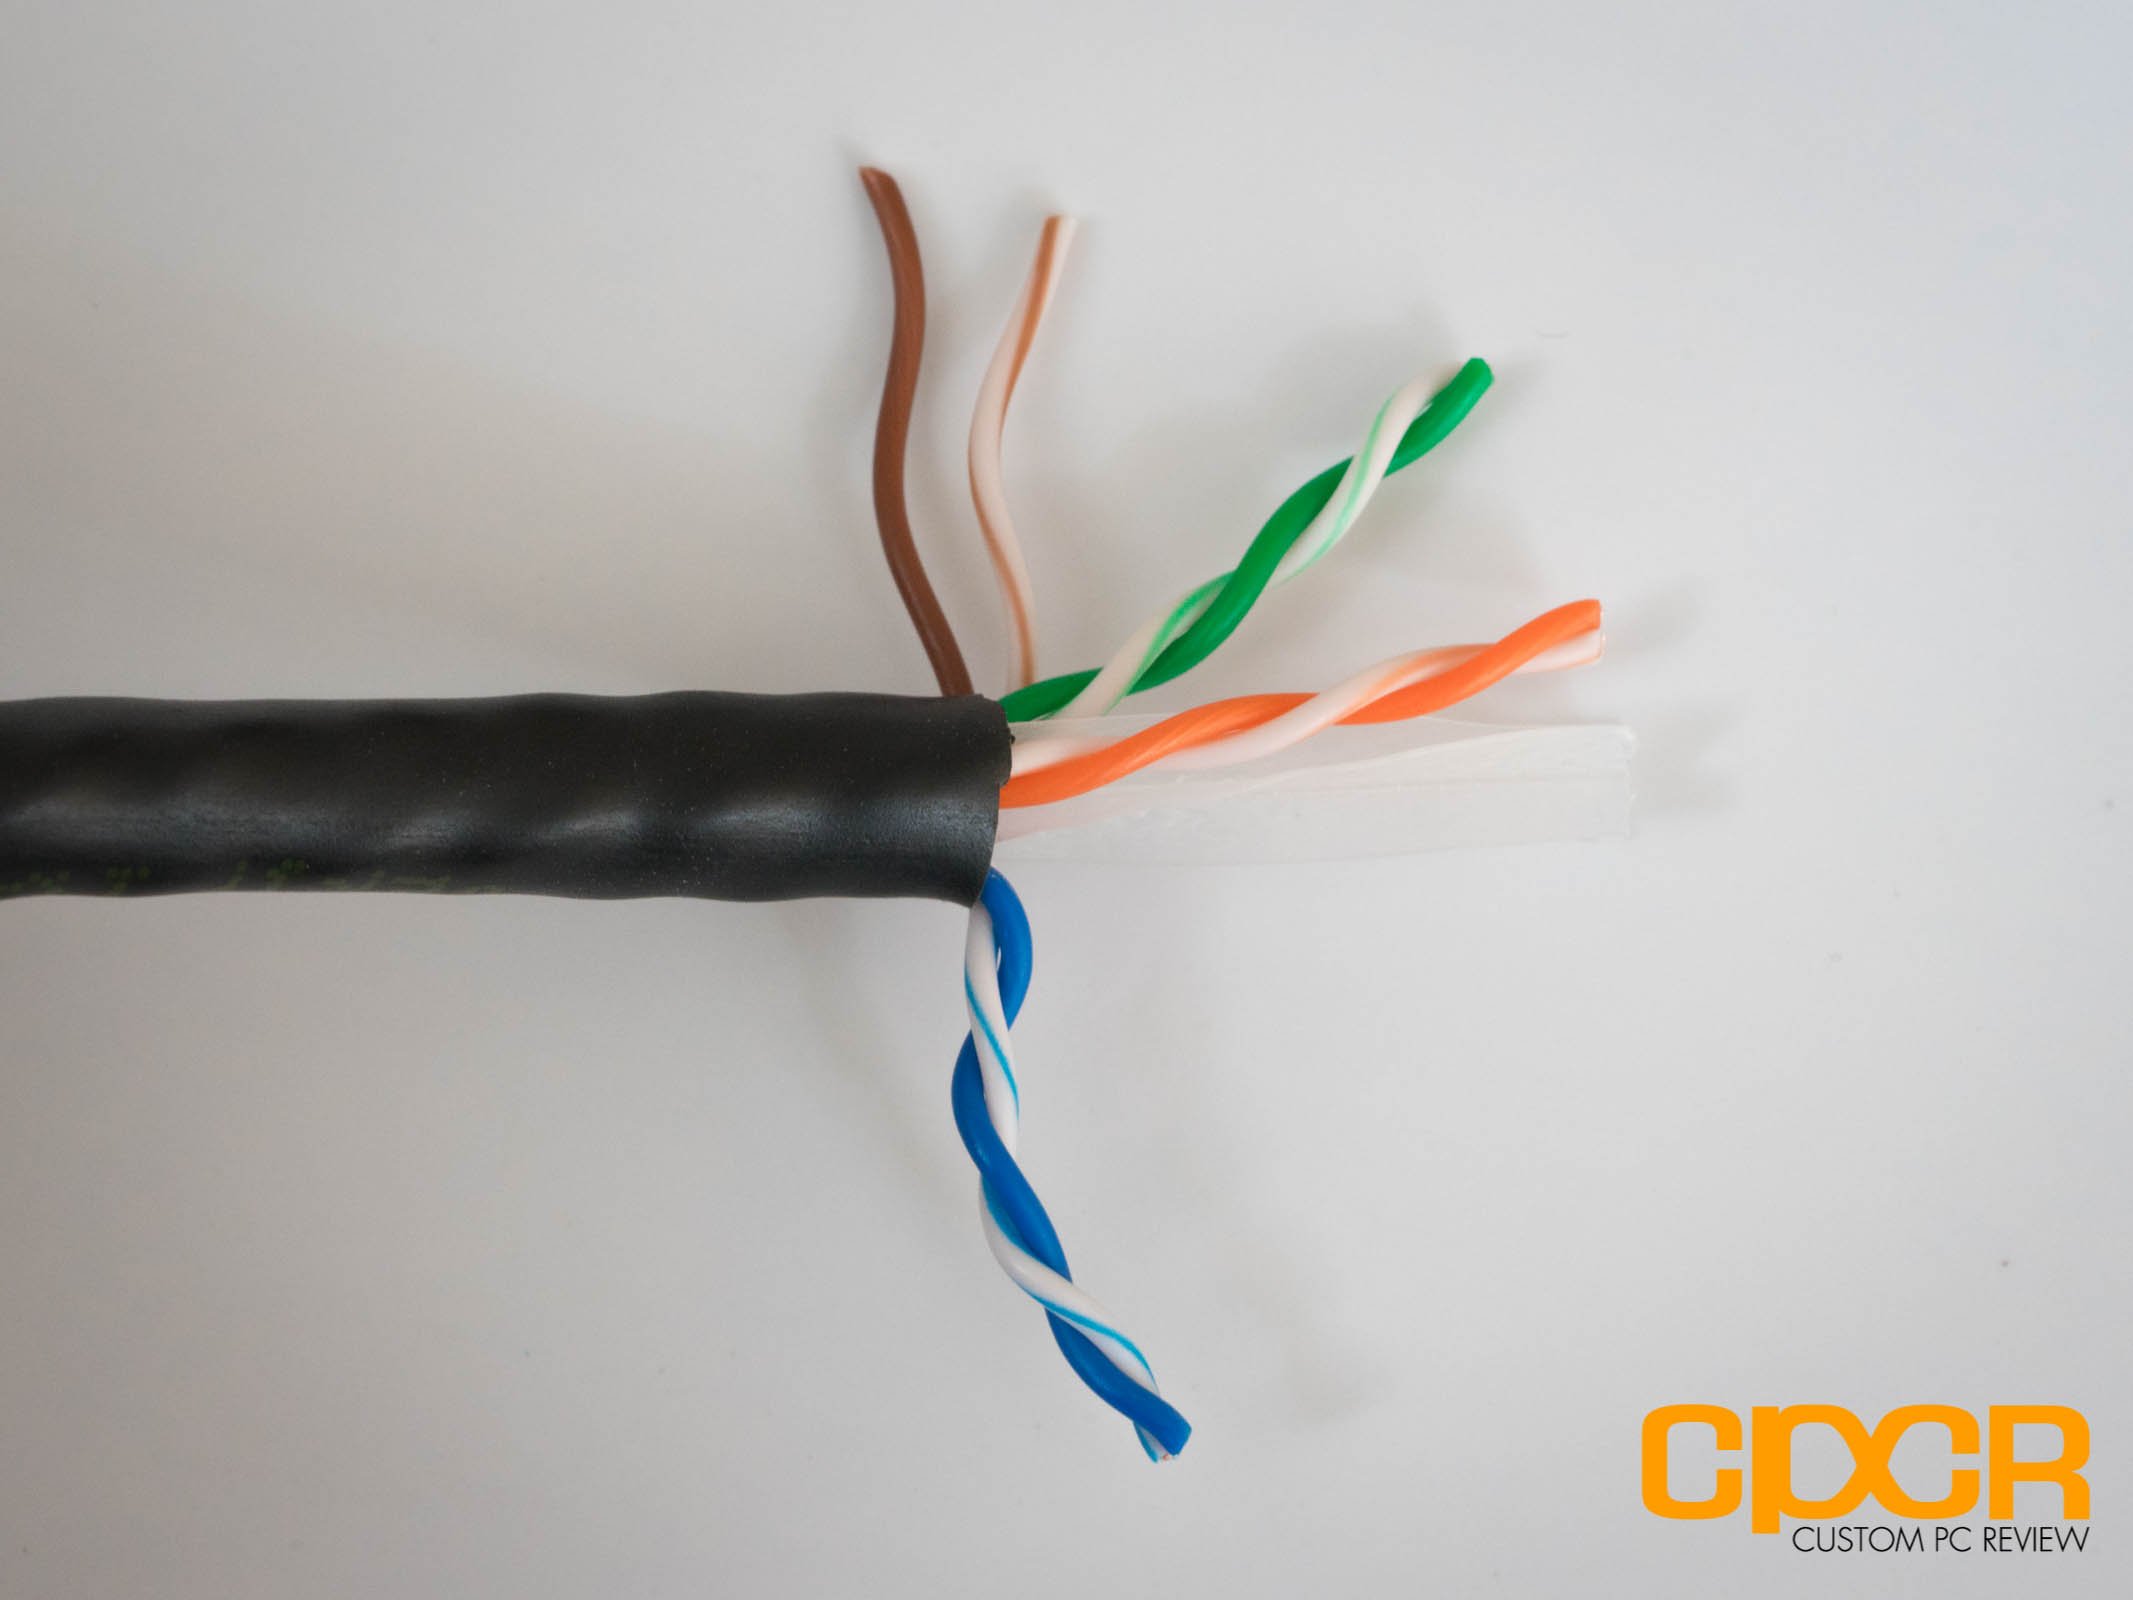
Once the sheath is removed, the wires inside are now exposed.
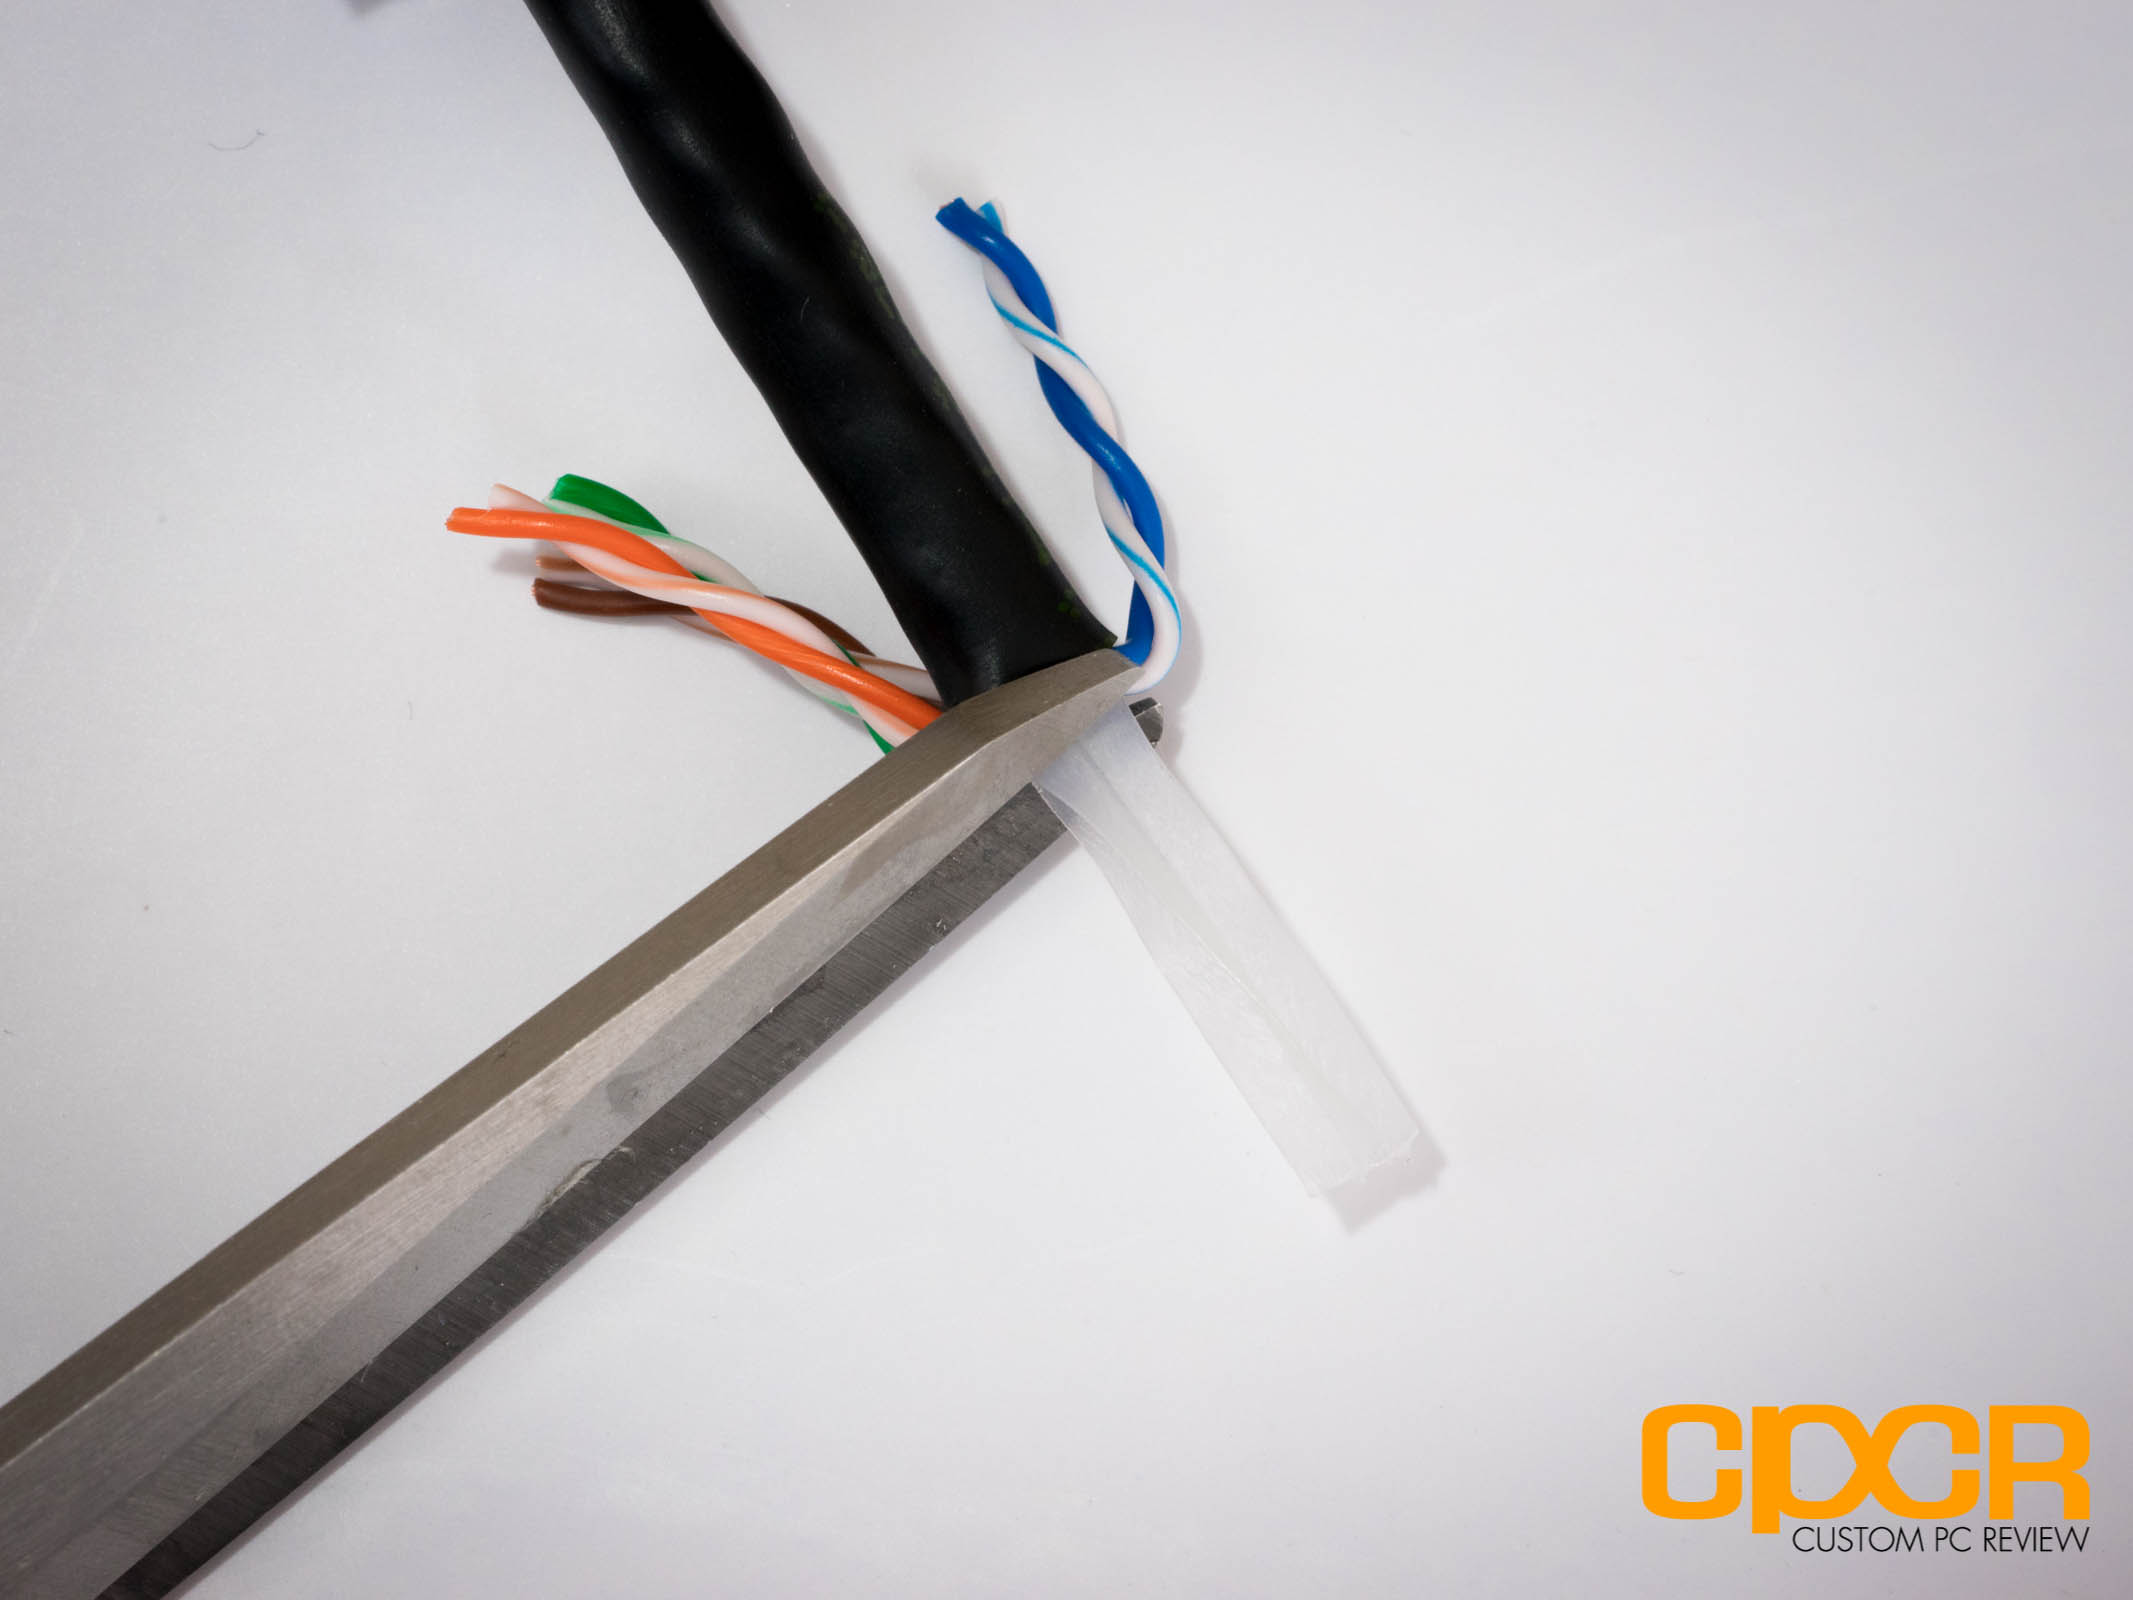
Those making cables with newer cables such as Cat6 will find a plastic core in the middle which helps maintain twisting in order to reduce crosstalk. Go ahead and trim the plastic core as low as possible.
Step 4
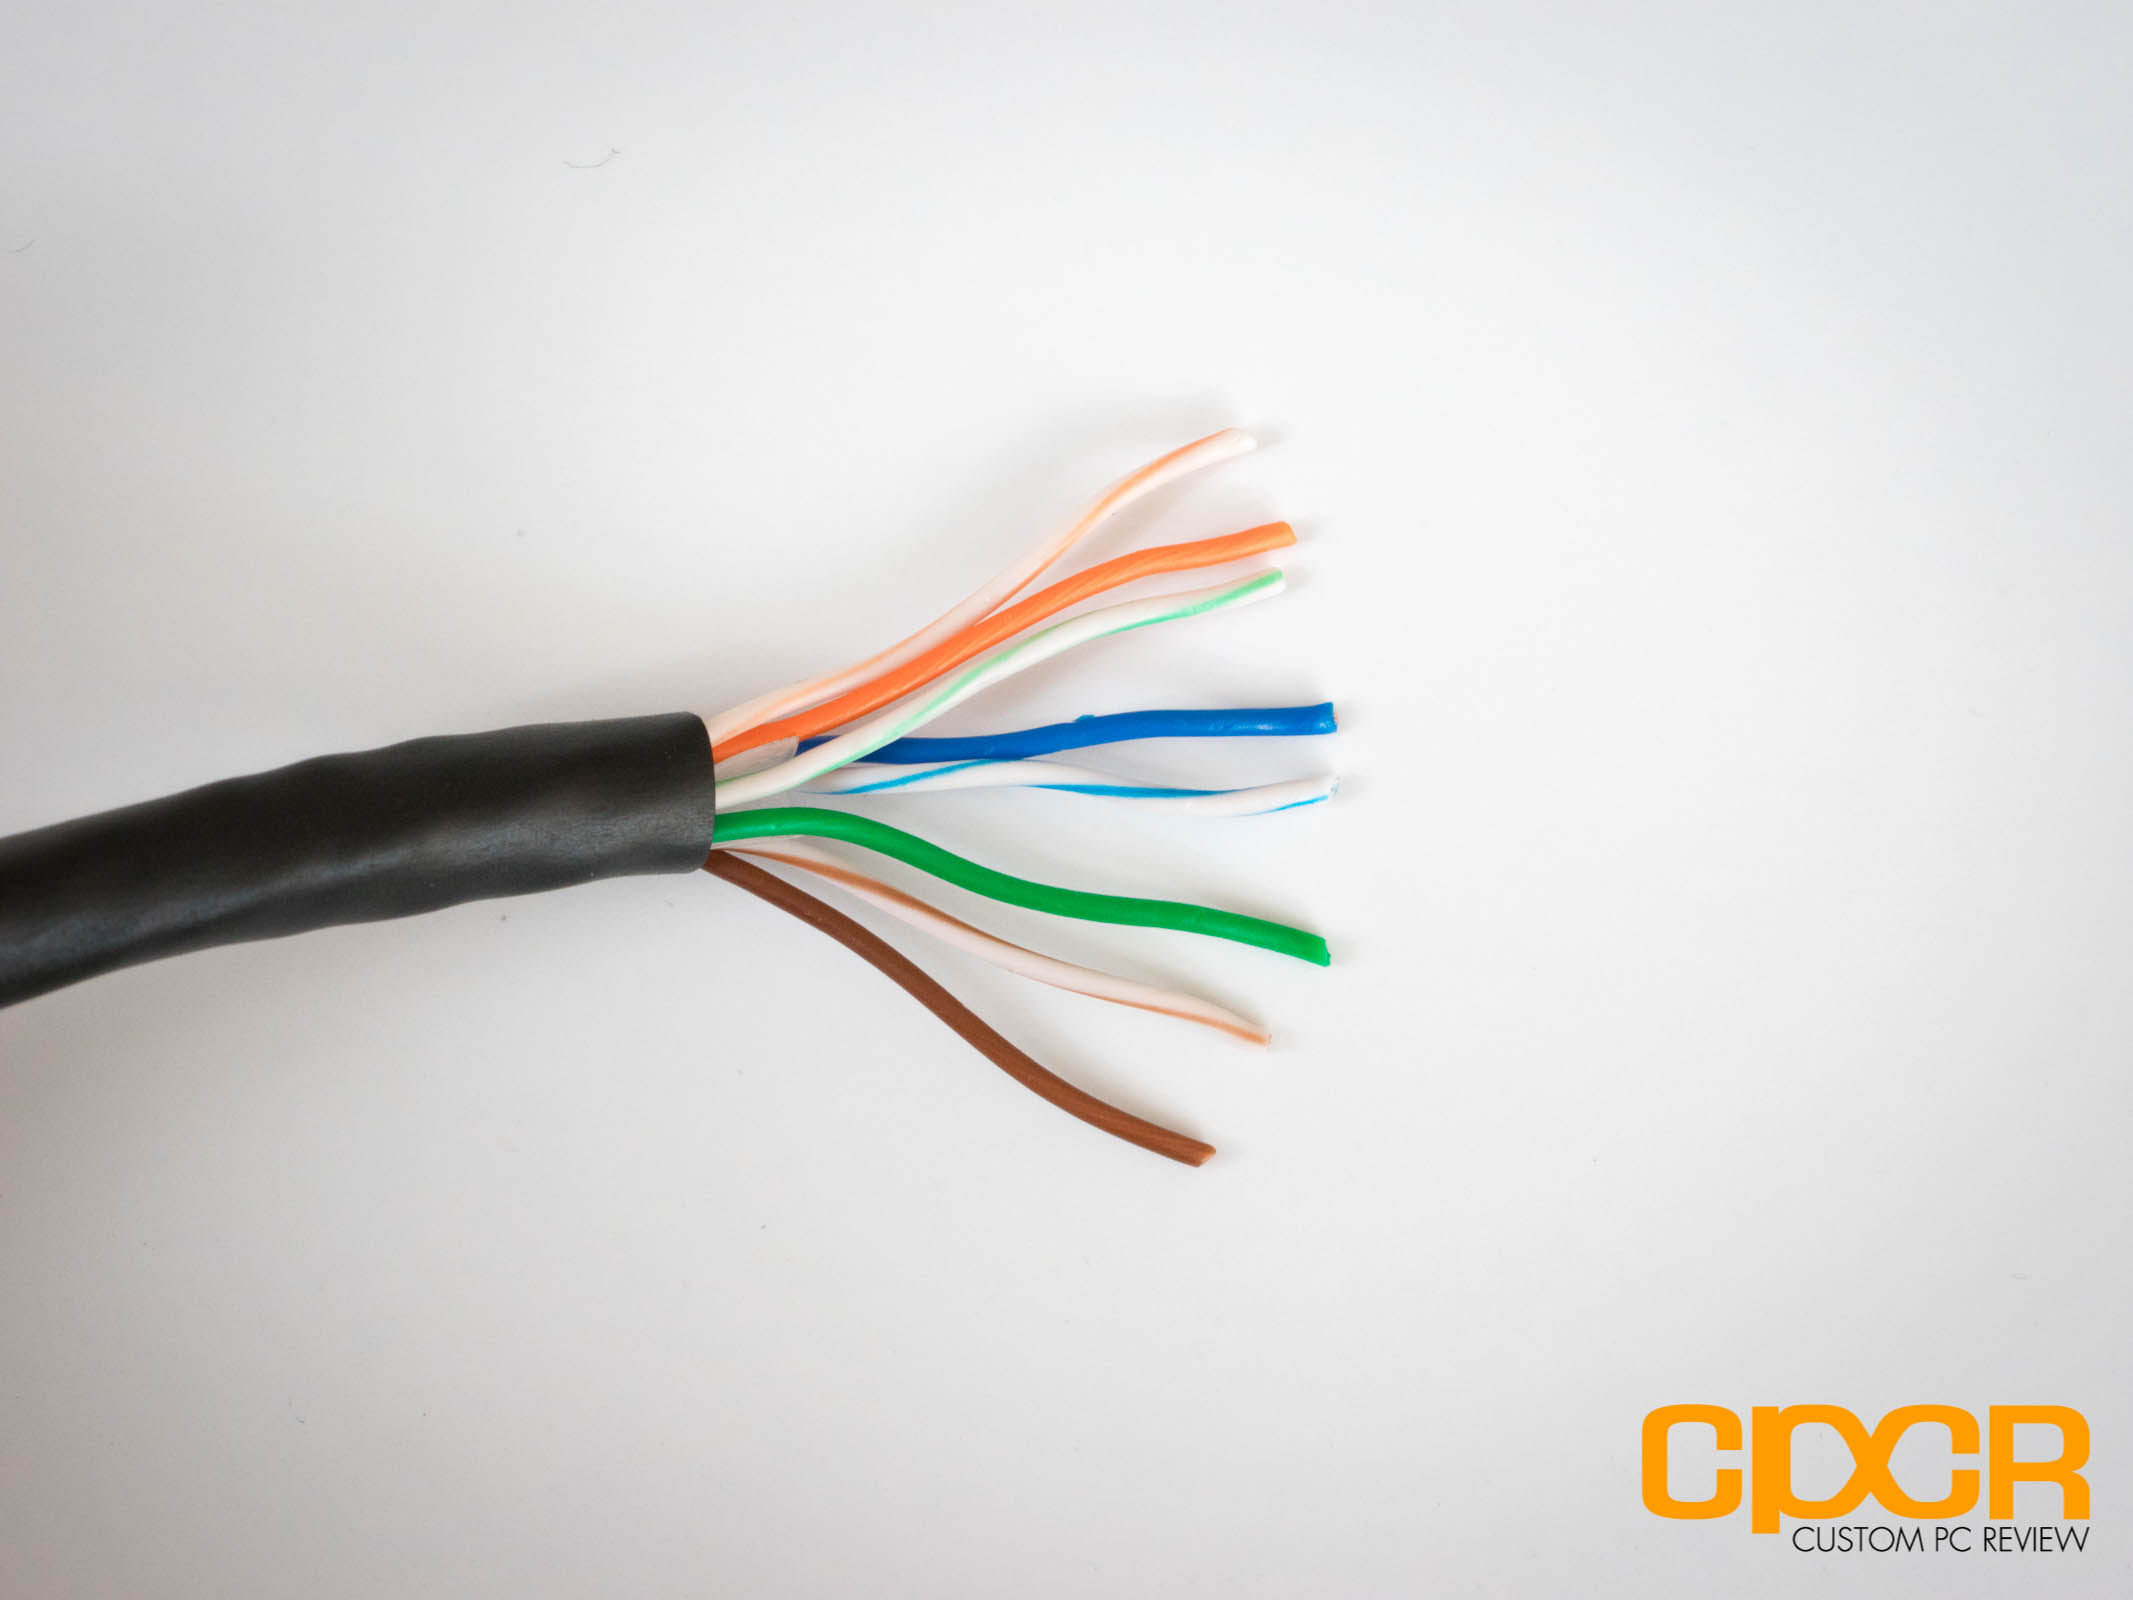
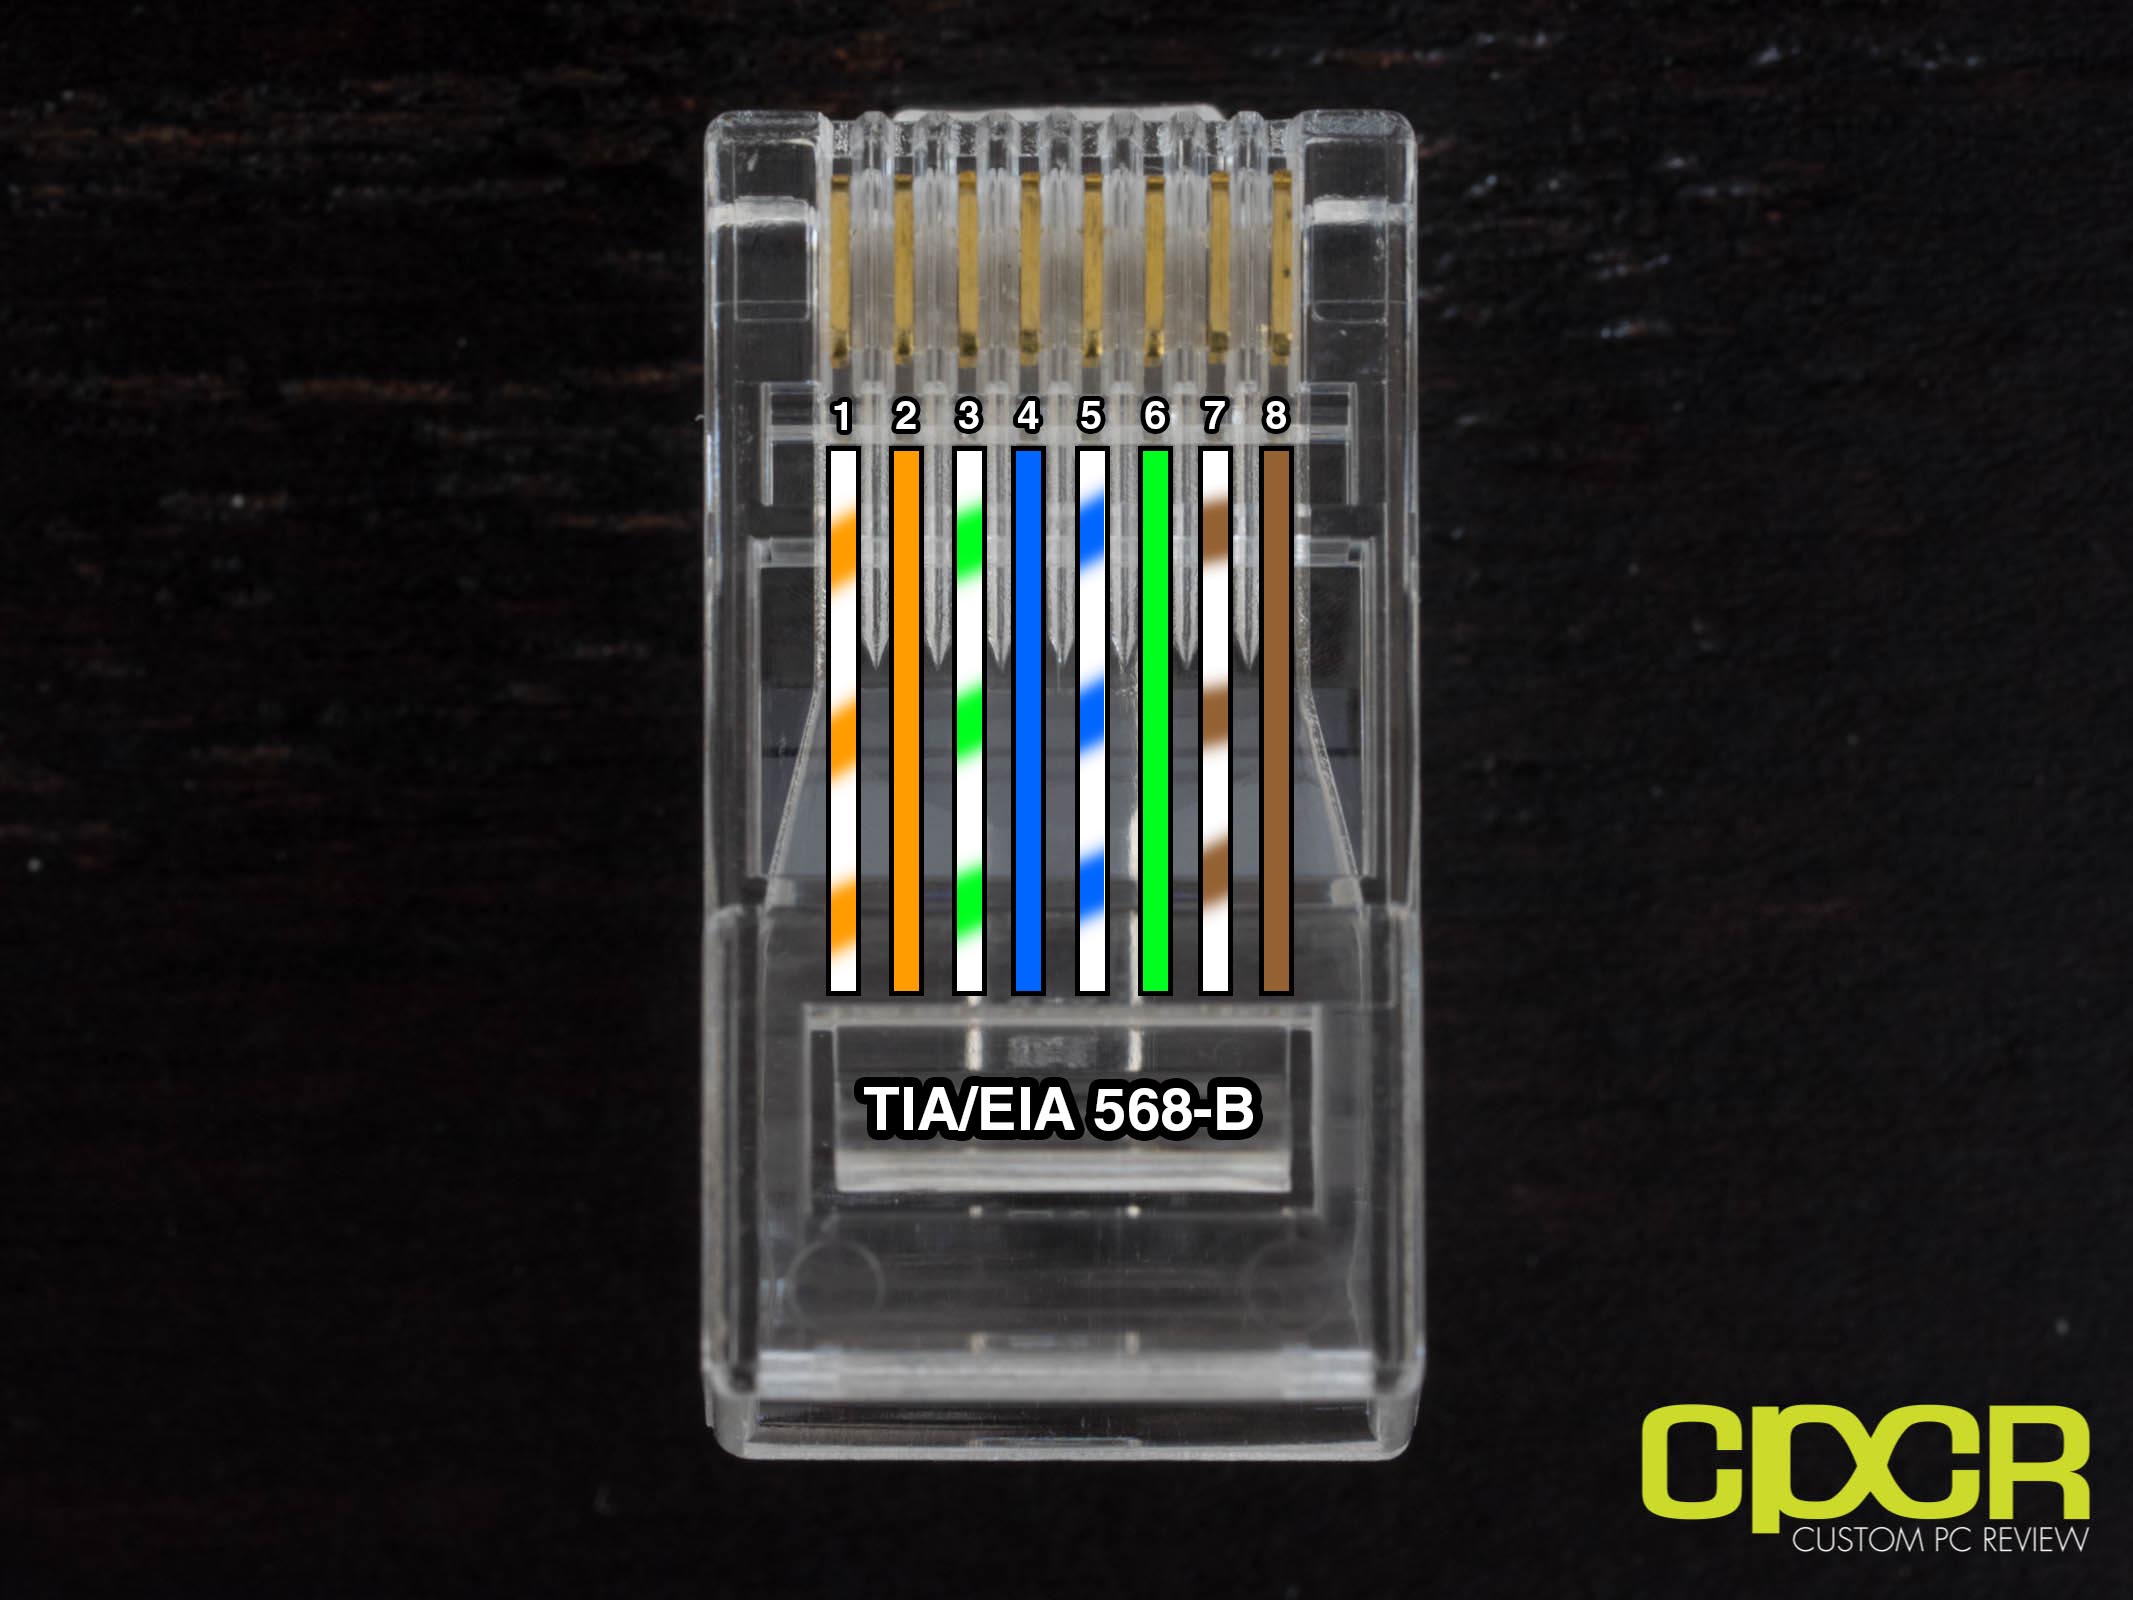
Arrange the wires based on the wiring diagram. Since we’re building a normal patch cable, use the TIA/EIA 568-B wiring standard.
Step 5
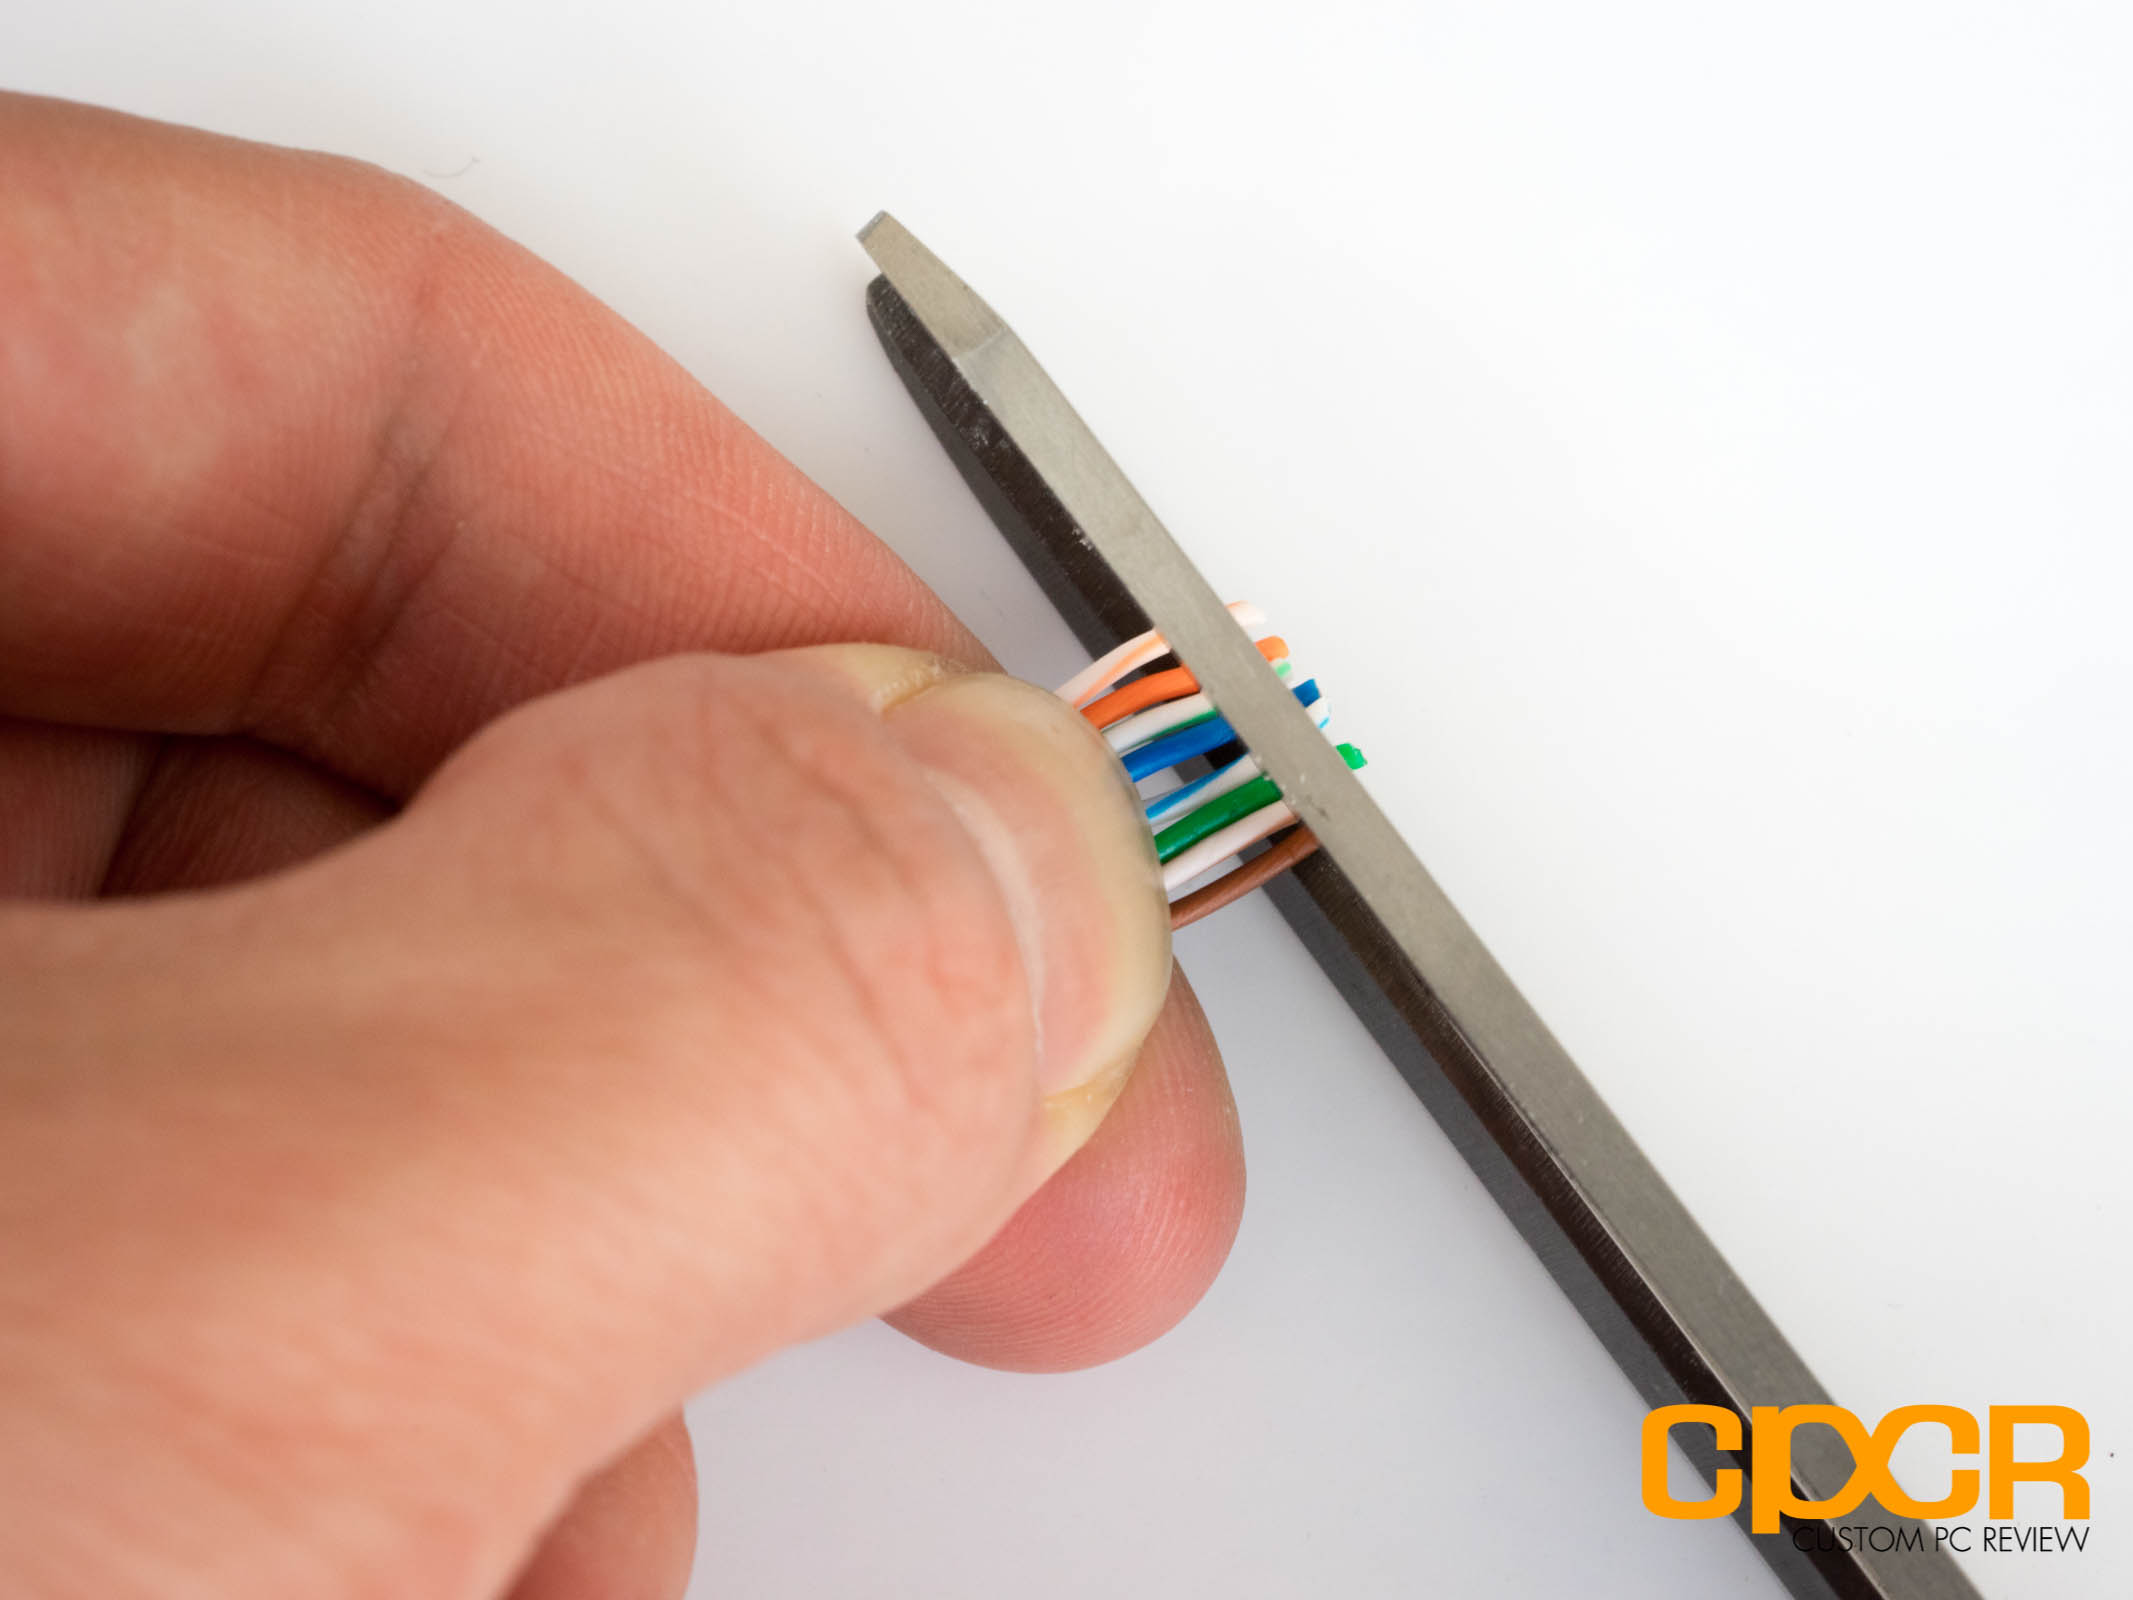
Once the wires are arranged, trim the wires so that the wires are about 1/2-inch from the cable sheath. If you don’t own a measuring device, an Ethernet plug can also be used for approximation. Just ensure the wires inside can reach the end of the plug and the cable sheath touches the end of the Ethernet plug.
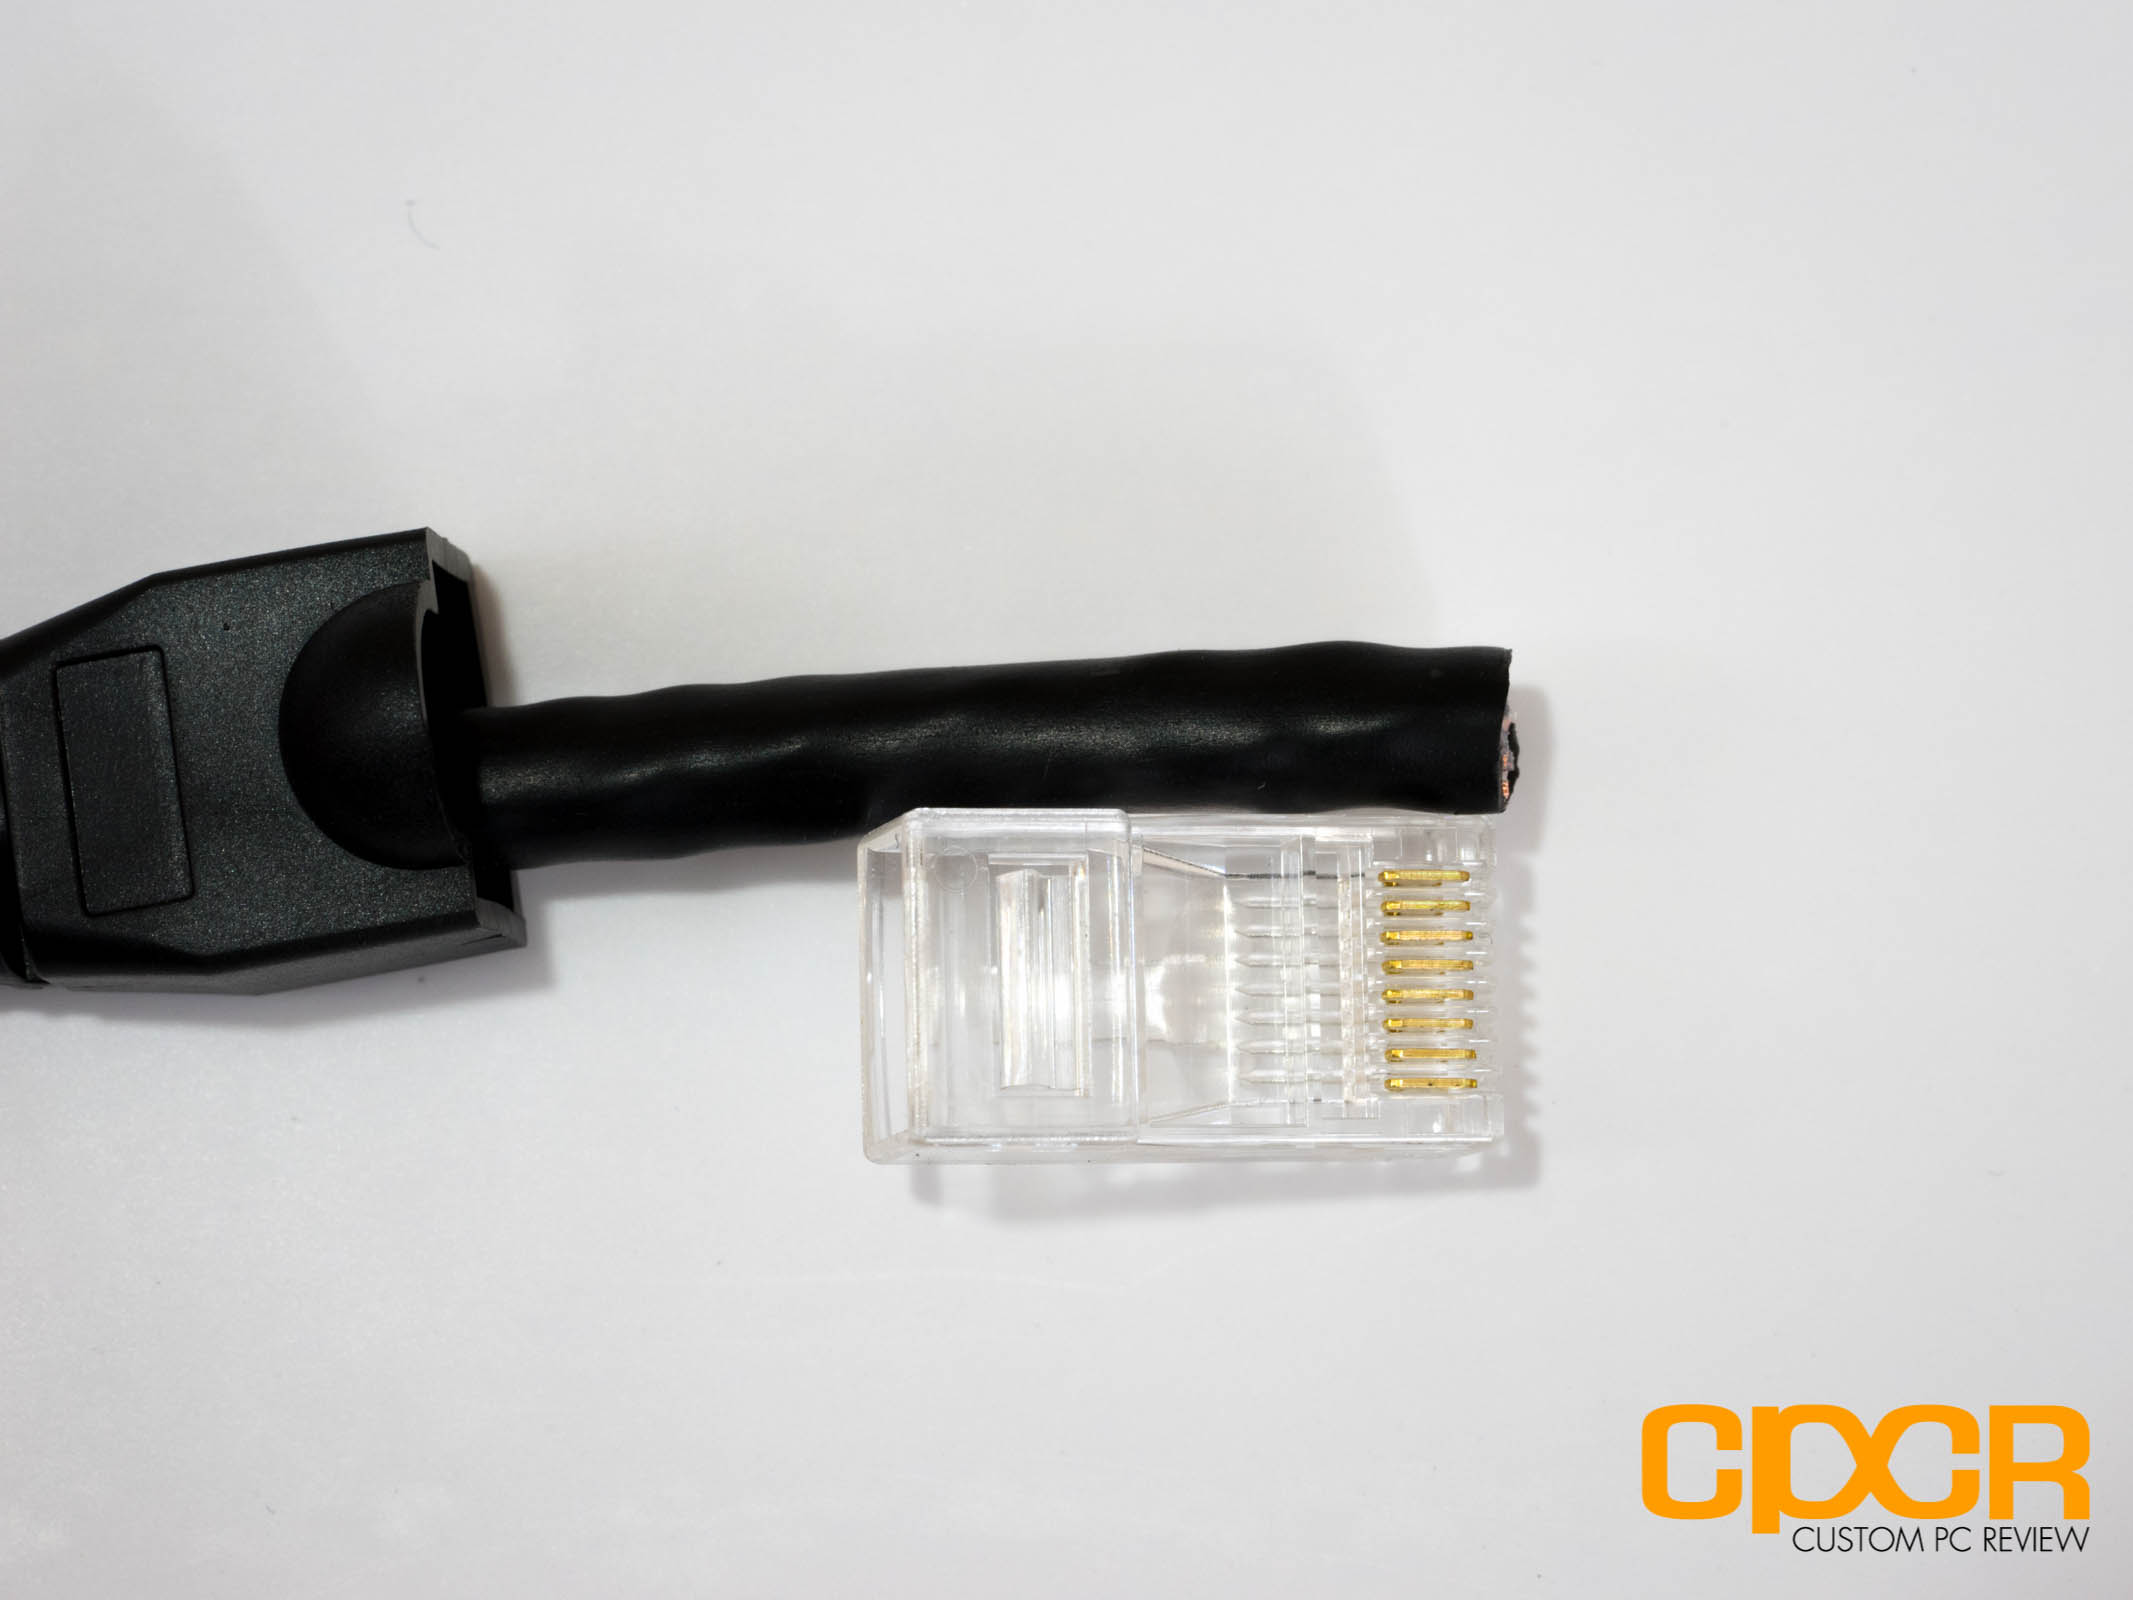
Step 6
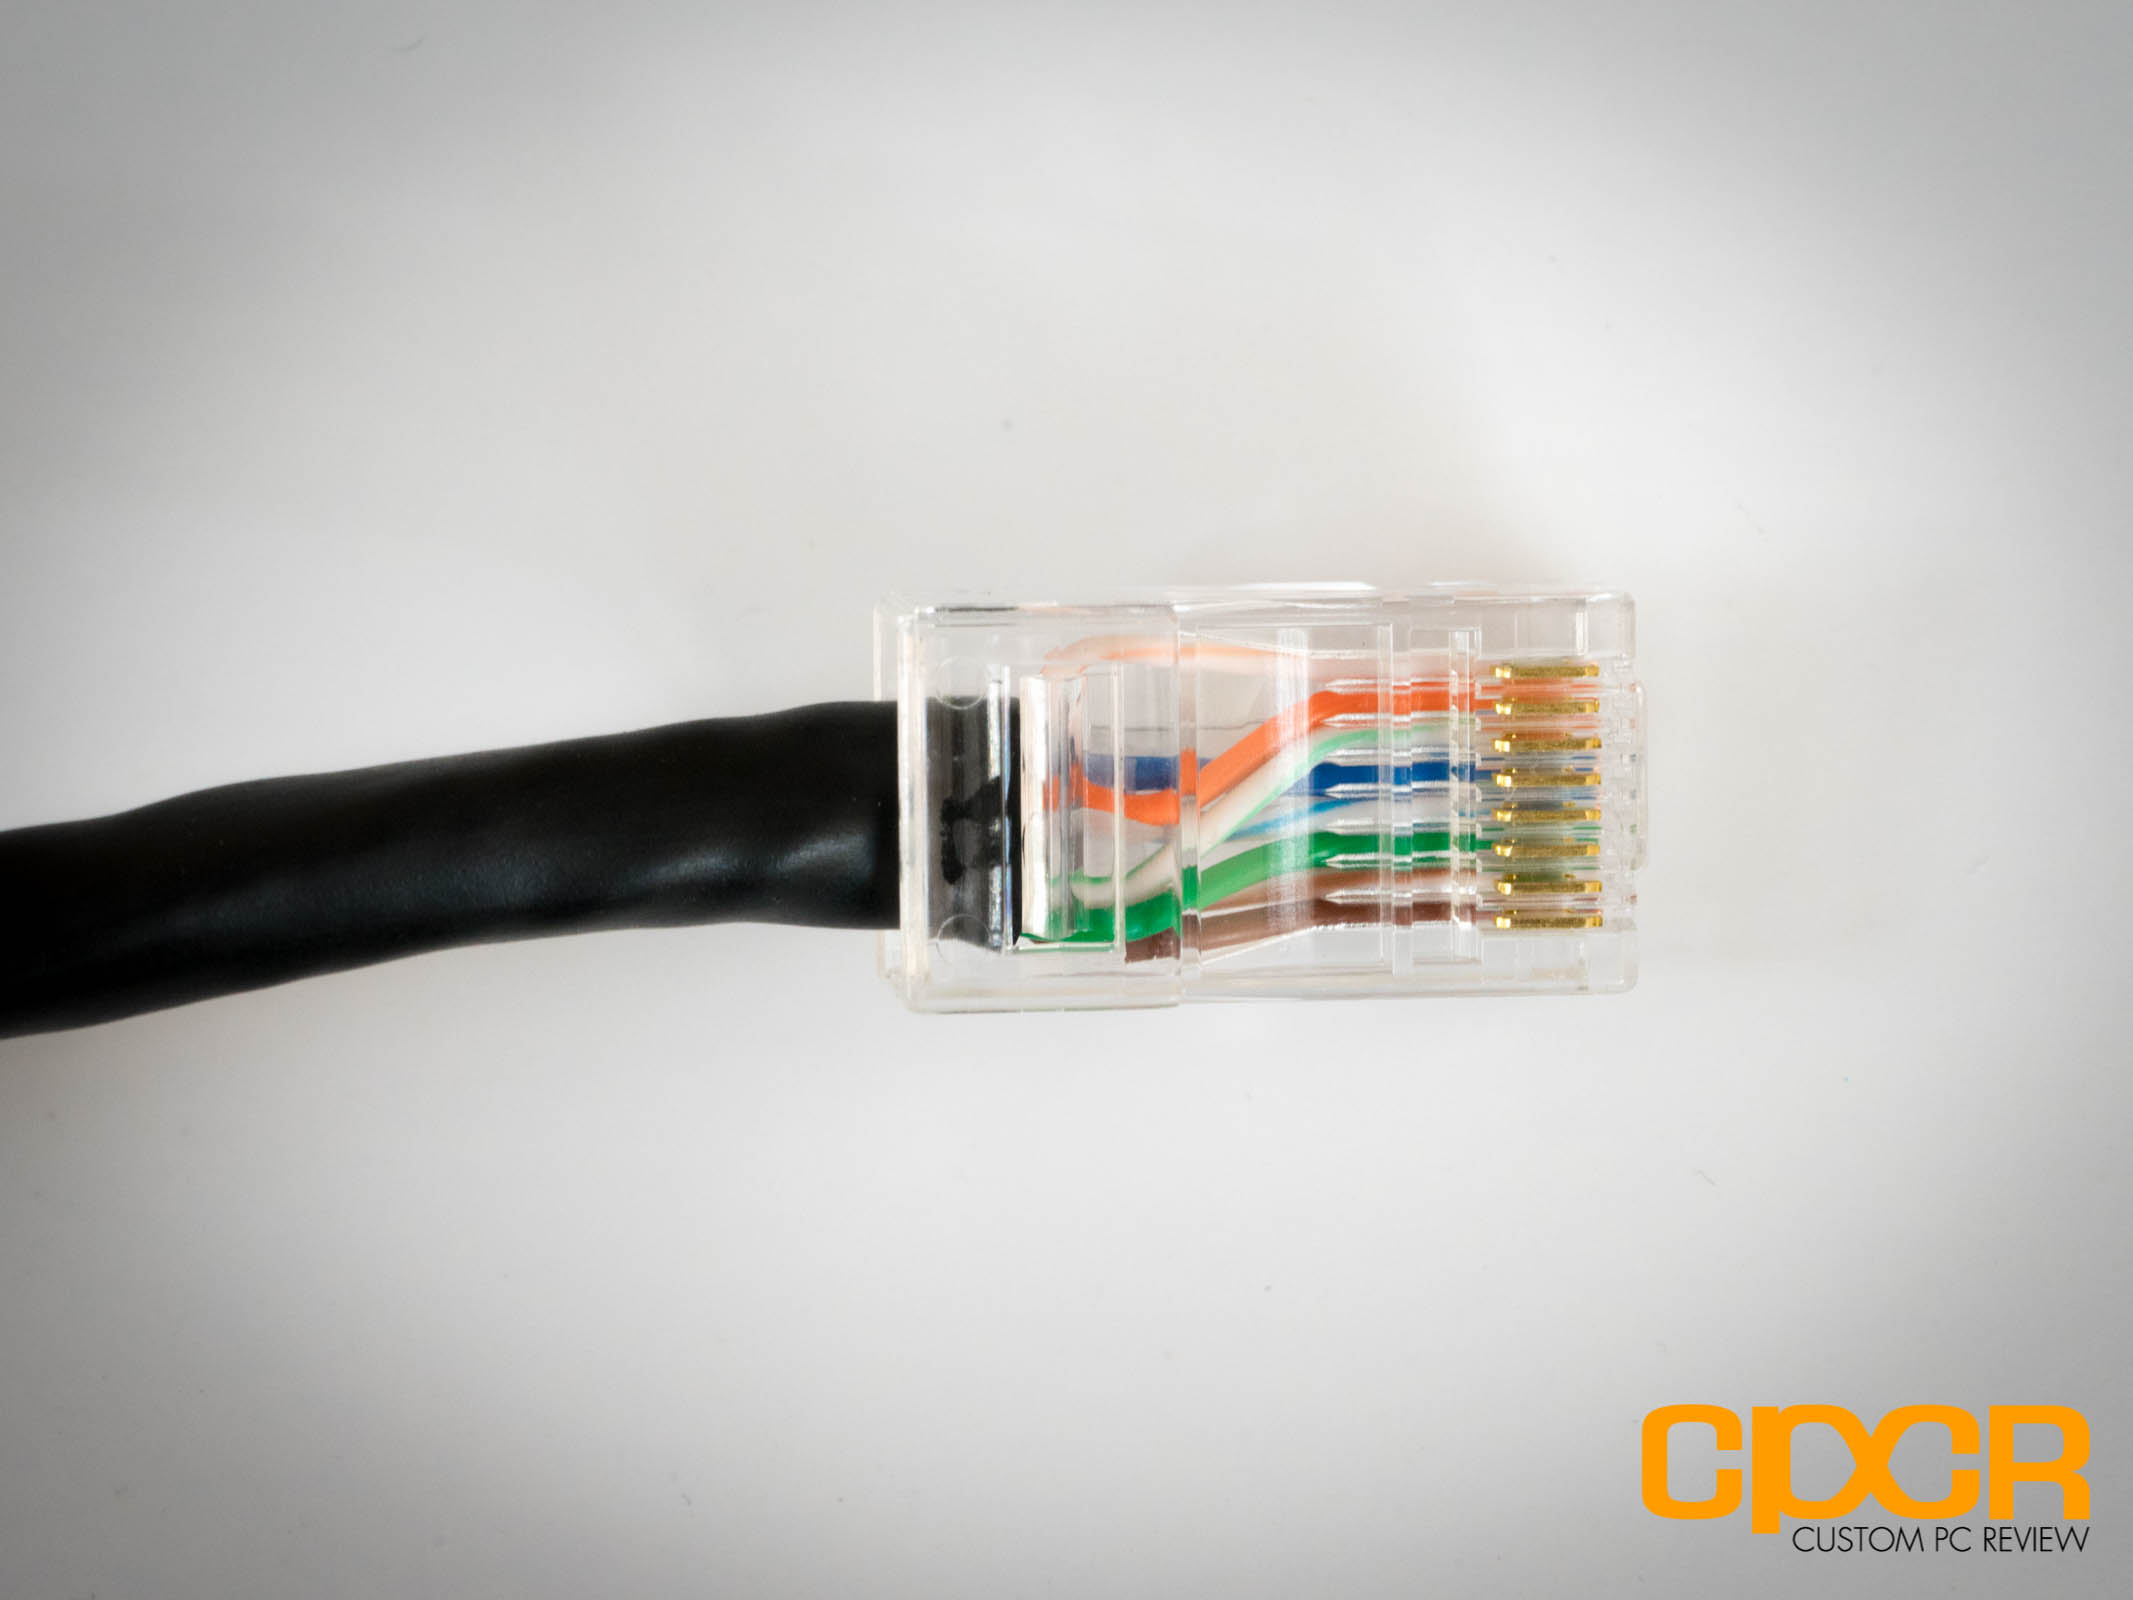
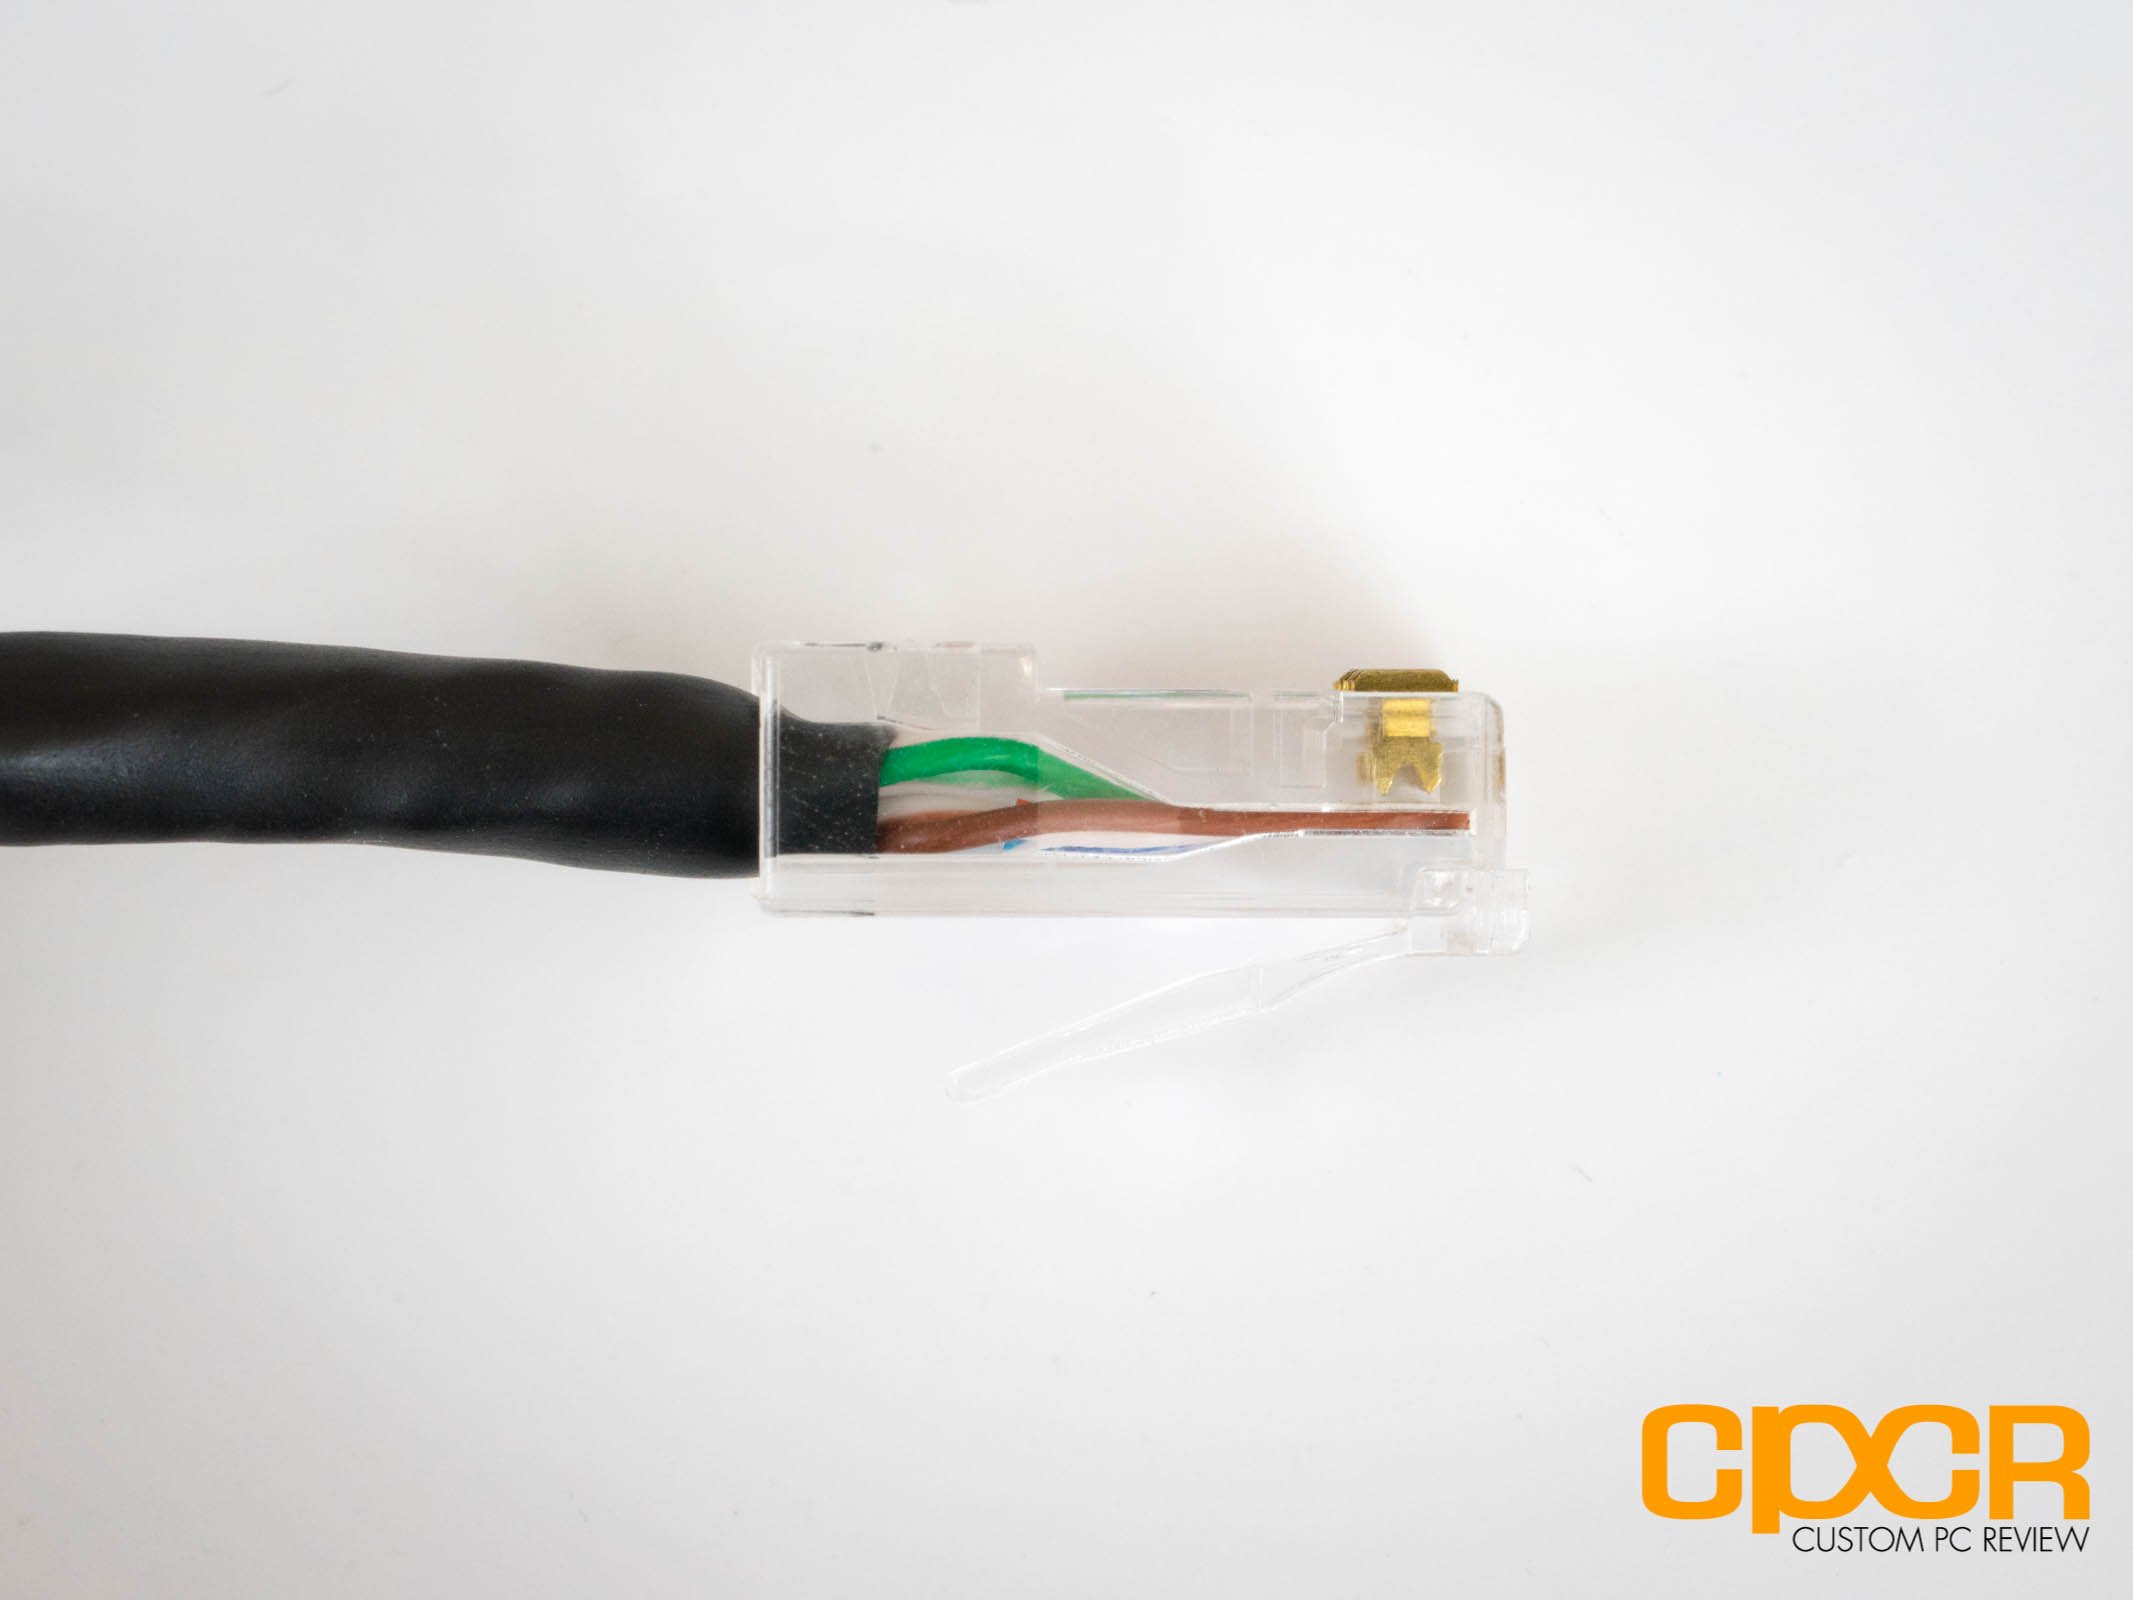
Once the wires are arranged in the proper order, push the wires into the Ethernet plug while maintaining the wiring order. Ensure that all wires are pushed all the way into the Ethernet plug so that the wires reach the end of the Ethernet plug. This is very important. If the wires are in the wrong order or if the wires aren’t pushed in far enough to make contact with the prongs, the cable will not work.
Step 7
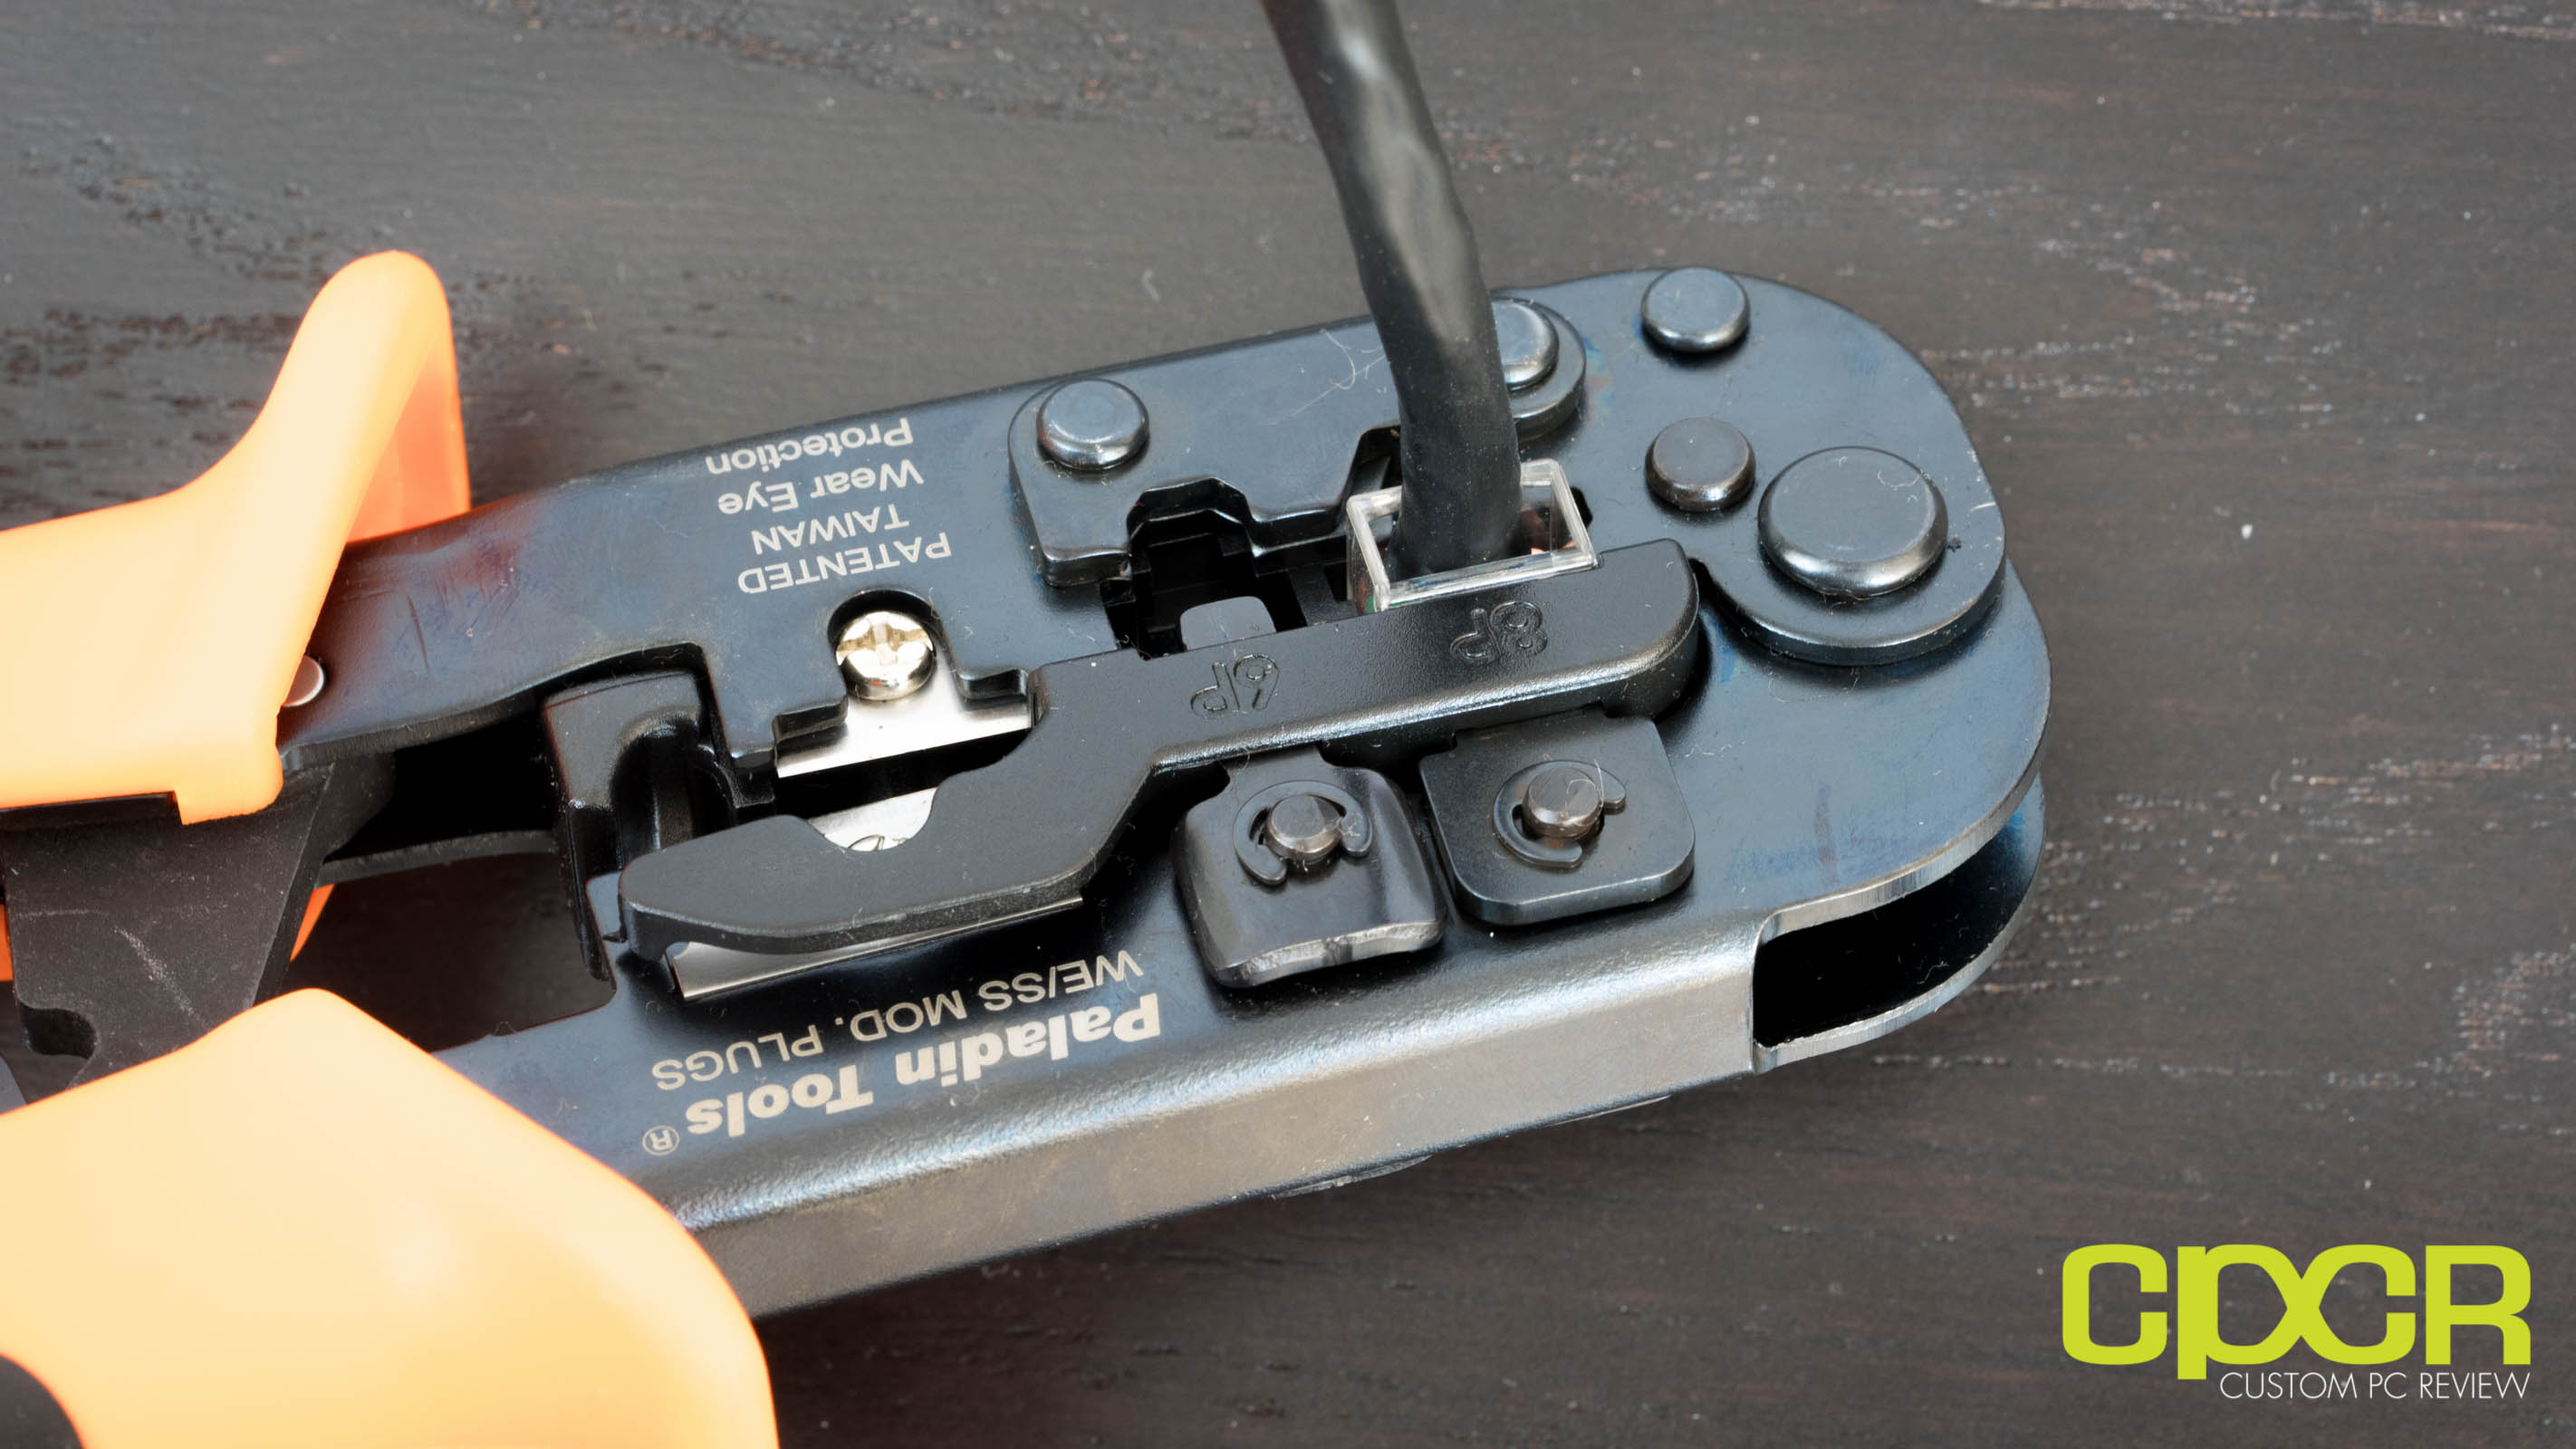
Ensuring that the wires are in the right order and that the wires are pushed in all the way into the Ethernet plug, use the crimp tool to crimp the Ethernet plug. Crimp tools with a racheting mechanism are highly recommended as it helps ensure consistent crimps.
Step 8
Once the Ethernet plug is crimped, repeat Steps 1-7 for the other end of the cable.
Optional Step

Optionally, the recently made cables can be tested with a cable tester. For larger cable deployments, this is very helpful as nothing is worse than trying to track down which cables aren’t working after spending hours running several hundreds of feet of cable.


